Using the right materials can greatly reduce noise in your home or office. Acoustic caulk and putty are key for soundproofing. They seal gaps and cracks in walls, ceilings, and floors, making sound better.
Sealing gaps around windows with acoustic caulk is a simple yet effective way to reduce noise. This makes your space quieter, perfect for relaxing or working. Effective soundproofing is not just about blocking noise. It’s also about making your space sound better.
What is Acoustic Caulk?
Acoustic caulk is a soundproofing sealant that helps make spaces quieter. It seals gaps and cracks in walls and ceilings. This reduces noise and improves sound quality in homes, studios, and more.
Definition and Purpose
Acoustic caulk is made from latex-based acrylic polymer. It’s permanently flexible, sealing joints and gaps well. Its main goal is to stop sound leaks and cut down on noise.
Common Uses in Construction
In construction, acoustic caulk seals around windows, doors, and gaps between materials. It’s also used in recording studios, home theaters, and bedrooms. It helps reduce echo and outside noise.
Key Features of Acoustic Caulk
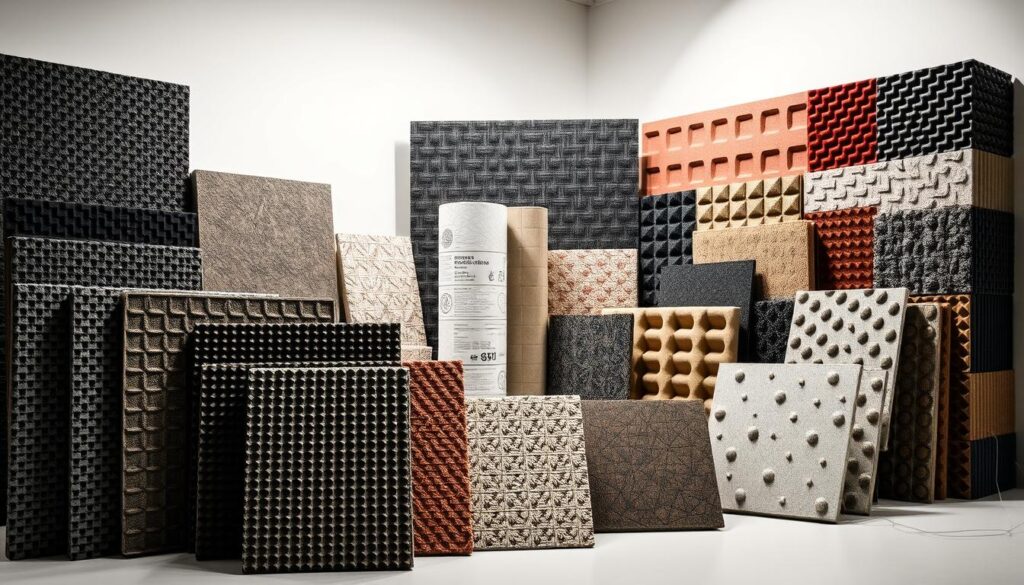
Acoustic caulk is flexible, durable, and sticks to many surfaces. Here are its main features:
| Feature | Description | Benefit |
|---|---|---|
| Permanent Flexibility | Remains flexible over time | Effective sealing despite material shifts |
| Sound Absorption | Reduces noise transmission | Quieter spaces |
| Adhesion | Adheres well to various surfaces | Easy application on different materials |
Knowing about acoustic caulk’s features and benefits helps you choose the right soundproofing solution.
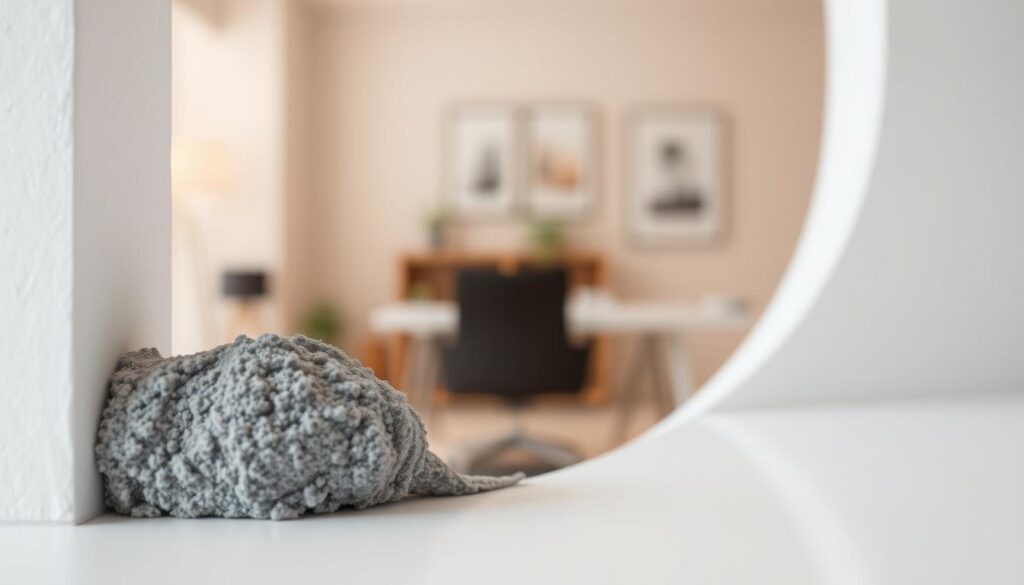
What is Acoustic Putty?
Acoustic putty is a special mix of latex and silicone. It’s a acoustical sealant that seals gaps and cracks in walls, ceilings, and floors. This helps reduce noise and improve sound quality.
Acoustic putty is flexible and durable. It stays soft over time, unlike regular sealants. This means it can seal gaps that change size due to temperature or movement.
Differences from Caulk
Acoustic putty and caulk both seal gaps, but they’re different. Acoustic putty doesn’t harden and stays flexible. This makes it perfect for areas that move or vibrate.
- Flexibility: Acoustic putty stays pliable, whereas caulk hardens over time.
- Application: Acoustic putty is often used in areas where movement is expected, such as around electrical outlets or between different building materials.
- Sound Damping: Acoustic putty is designed to dampen sound, offering better noise reduction than caulk.
Recommended Applications
Acoustic putty is great for soundproofing in many places. Here are some good uses:
- Sealing gaps around electrical outlets and switches.
- Filling joints between different building materials, such as where drywall meets wood framing.
- Dampening sound transmission through penetrations like plumbing or HVAC systems.
Benefits of Using Acoustic Putty
Using acoustic putty has many advantages, including:
- Effective Soundproofing: It greatly reduces noise, making environments quieter.
- Durability: Its non-hardening nature means long-lasting seals.
- Easy to Use: Acoustic putty is simple to apply, making it a handy solution for soundproofing.
Importance of Soundproofing in Your Home
Soundproofing is more than just blocking noise. It’s about making your home a peaceful place for relaxation and comfort. Adding soundproofing solutions can greatly improve your living space.
Benefits of a Quieter Home Environment
A quieter home brings many benefits. It can lower stress and improve sleep. With soundproofing, you can enjoy a quieter space, away from outside noise.
Key advantages of a soundproofed home include:
- Improved mental health through reduced noise stress
- Enhanced productivity in a quieter workspace
- Better sleep quality due to minimized external noise
Comparison with Traditional Soundproofing Methods
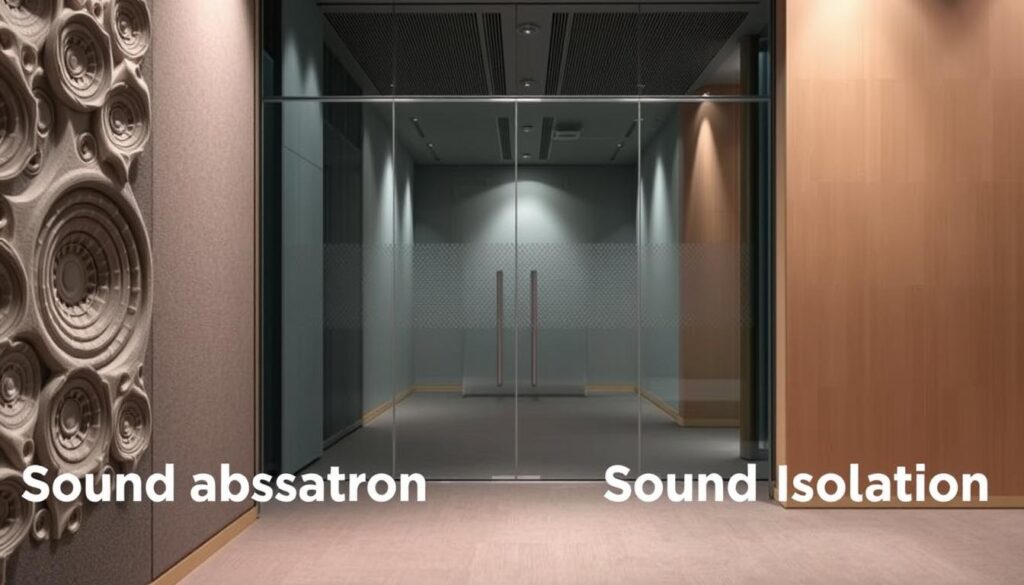
Traditional soundproofing can be complex and expensive. On the other hand, sound isolation products like acoustic caulk and putty are simpler and cheaper. They offer effective acoustical soundproofing without big renovations.
| Soundproofing Method | Cost | Effectiveness |
|---|---|---|
| Traditional Soundproofing | High | Variable |
| Acoustic Caulk and Putty | Moderate | High |
The table shows acoustic caulk and putty are a cost-effective and highly effective soundproofing option. They are a great choice for homeowners.
Acoustic Caulk vs. Acoustic Putty
It’s important to know the difference between acoustic caulk and putty for soundproofing. Both help block noise, but they work in different ways. This makes them good for different jobs.
Performance Differences
Acoustic caulk is great for sealing gaps and cracks in walls, ceilings, and floors. It’s flexible and durable. Acoustic putty, on the other hand, is for soundproofing bigger areas. It can be shaped to fit various shapes and sizes.
Key Performance Characteristics:
| Product | Primary Use | Flexibility | Sound Reduction |
|---|---|---|---|
| Acoustic Caulk | Sealing gaps and cracks | High | Effective for high-frequency sounds |
| Acoustic Putty | Soundproofing larger areas | Moderate | Effective for both high and low-frequency sounds |
Cost Considerations
The price of acoustic caulk and putty can change based on the brand, quality, and how much you need. Acoustic caulk is usually priced like other caulk. But acoustic putty might cost more because of its special formula.
Remember, the cost should also consider the long-term benefits. These include less noise and better sound quality.
Choosing the Right Product for Your Needs
Deciding between acoustic caulk and putty depends on your project’s needs. Caulk is best for filling gaps and cracks. Putty is better for bigger areas or more complex soundproofing tasks.
Think about these things when you decide:
- The size and type of area you’re soundproofing
- How much sound reduction you need
- The flexibility and durability needed for the job
How to Apply Acoustic Caulk
Applying acoustic caulk is easy and requires some basic steps. To soundproof your space well, you need to know how to apply the caulk right. This includes getting the surface ready, applying the caulk, and letting it dry.
Preparation Steps
Before you start, make sure the area is clean. Clean the surface to get rid of dirt, dust, or old caulk. Use a damp cloth to wipe it down and let it dry completely. This helps the caulk stick well to the surface.
Then, cut the tip of the caulk tube at a 45-degree angle. The size of the cut depends on the gap’s width. For wider gaps, you’ll need a bigger cut. Just cut enough so the caulk fills the gap without spreading too much.
Application Techniques
With everything ready, it’s time to apply the caulk. Hold the caulk gun at a 45-degree angle and squeeze it to fill the gap. Move the gun smoothly along the gap, keeping the caulk bead even. Smooth out the caulk with a damp cloth or tool to remove excess and ensure even distribution.
Drying and Curing Time
After applying the caulk, let it dry completely. The drying time varies based on the product and environment. It usually takes a few hours to overnight. Check the manufacturer’s instructions for exact drying times. Once dry, you can paint or finish the area as you like.
By following these steps, you can apply acoustic caulk effectively. Proper application is crucial for the best soundproofing results and a quieter home.
How to Use Acoustic Putty
To get the most out of acoustic putty, knowing how to apply it is key. It’s used to seal gaps and cracks for better soundproofing. The right installation is crucial for its success.
Preparing Surfaces for Application
Start by getting the surface ready. Make sure it’s clean and free of debris. Dirt, dust, or old adhesive can ruin the putty’s seal. Clean it with a gentle product and a soft cloth. Let it dry fully before you start.
Tooling Techniques for Best Results
After preparing the surface, apply the acoustic putty. Use a putty knife or similar tool to smooth out the putty. This makes it look good and work better. Press the putty firmly into the gap for a tight seal.

Frequently Asked Questions About Acoustic Products
Thinking about soundproofing your space? You might wonder about acoustic caulk and putty. These are key for keeping sounds out. Knowing how they work can help you make your space quieter.
Can You Use Caulk on All Surfaces?
Acoustic caulk works on many surfaces, but always check the instructions. It’s safe for most, but be careful. Make sure it’s okay for your surface to avoid problems.
- Check the manufacturer’s guidelines for surface compatibility.
- Ensure the surface is clean and dry before application.
- Some surfaces may require special preparation or primers.
Is Acoustic Putty Safe for the Environment?
Acoustic putty is usually safe for the environment when used right. It’s made from non-toxic materials for soundproofing. Still, it’s smart to look at the product’s safety data sheet (SDS) for more info.
Key considerations for environmental safety include:
- Follow the manufacturer’s instructions for use and disposal.
- Avoid eating or breathing in the product.
- Wear protective gear when applying.
How Long Does Acoustic Caulk Last?
The life of acoustic caulk varies based on several things. Quality, how it’s applied, and what it’s exposed to all play a part. Good acoustic caulk can last a long time, keeping sounds out.
Factors influencing the longevity of acoustic caulk include:
- Extreme temperatures.
- Moisture levels.
- Physical stress or movement in the sealed joint.
DIY vs. Professional Installation
Sound damping materials like acoustic caulk and putty can be installed by homeowners. But, when should you call in a pro? The choice between DIY and professional installation depends on the project’s complexity and your comfort with DIY tasks.
When to Tackle a Project Yourself
For small soundproofing tasks, like sealing gaps around windows or doors, DIY might work. You can use acoustic caulk and putty to soundproof effectively. Just make sure to follow the manufacturer’s instructions and take safety precautions.
To succeed with DIY installation, remember these tips:
- Read and follow the product instructions carefully.
- Prepare the surface well before applying acoustic caulk or putty.
- Use the right tools for the job.
Benefits of Hiring a Professional
For bigger or more complex soundproofing projects, hiring a pro is wise. A professional ensures the materials are installed right, making them work better. They also know the best products and methods for your needs.
Hiring a professional offers several advantages:
| Benefit | Description |
|---|---|
| Expertise | Professionals know how to install sound damping materials correctly. |
| Time-Saving | Getting a pro saves you time and effort, letting you focus on other things. |
| Guaranteed Results | Many pros offer guarantees or warranties, giving you peace of mind. |
By considering the pros and cons of DIY versus professional installation, you can choose wisely. Whether you do it yourself or hire a pro, using top-notch sound isolation products is key for effective soundproofing.
Maintenance Tips for Acoustic Treatments
Keeping your acoustic treatments in top shape is easy with a few simple steps. Regular care not only makes them last longer but also keeps them working well to block out noise.
Inspecting Your Acoustic Products
It’s important to check your acoustic caulk and putty often. Look for any cracks, dry spots, or if they’re pulling away from the surfaces. Spotting problems early means you can fix them quickly, keeping your soundproofing in good shape.
When you’re checking, focus on the areas around joints, gaps, and seams. This is where acoustic caulk is usually used. Also, check the acoustic putty around electrical outlets and switches.
When to Reapply Caulk or Putty
Knowing when to put more acoustic caulk or putty is key to keeping sound out. If you see a drop in soundproofing or signs of wear, it’s time to reapply.
The life of acoustic caulk and putty depends on where they are and how well they were applied. You should reapply:
- Acoustic caulk every 5-10 years or when it shows signs of cracking or drying out.
- Acoustic putty as needed, typically when it’s disturbed or when new electrical or plumbing fixtures are installed.
| Product | Typical Lifespan | Reapplication Triggers |
|---|---|---|
| Acoustic Caulk | 5-10 years | Cracking, drying out, or separation |
| Acoustic Putty | Varies | Disturbance, new installations |
By following these tips, you can keep your acoustic treatments working well. This makes your living or working space quieter and more comfortable.
The Cost of Acoustic Solutions
When planning a soundproofing project, knowing the cost of acoustic solutions is key. The prices of acoustic caulk and putty can change your project’s total cost.
The cost of these materials depends on several things. This includes the brand, quality, and how much you need. For example, high-quality acoustic caulk might cost more because it lasts longer and works better. The price of acoustic putty also changes based on its use and the brand.
Budgeting for Your Soundproofing Project
To budget well for your soundproofing project, think about more than just the cost of caulk and putty. You’ll also need to consider any extra materials or tools for installation. This could include caulking guns, putty knives, or stuff to get surfaces ready.
- Research different brands and qualities of acoustic caulk and putty to compare prices.
- Consider buying in bulk if you have a large project to ensure you have enough material.
- Factor in the cost of any necessary tools or additional materials.
Comparing Material Costs
Looking at the costs of different acoustic materials can guide your choices. Acoustic caulk and putty have different uses and prices. Their costs show their specific jobs and benefits.
| Material | Average Cost | Purpose |
|---|---|---|
| Acoustic Caulk | $5-$15 per tube | Sealing gaps and joints |
| Acoustic Putty | $10-$30 per container | Damping sound through walls and floors |
Knowing the costs and uses of these materials helps you plan your soundproofing project. This way, you can keep your budget in check.
Best Practices for Maximizing Acoustic Performance
To get the best soundproofing results, it’s key to know how to use acoustic caulk and putty. Mixing these products and methods can greatly boost your space’s sound quality.
Combining Acoustic Caulk and Putty
Using acoustic caulk and putty together can make soundproofing better. Caulk seals gaps and joints, while acoustic putty fills holes and recesses. Together, they create a tighter seal.
Make sure the surface is clean and dry before applying. Follow the maker’s guide for how to apply and dry times. This ensures a solid soundproofing seal.
Additional Soundproofing Techniques to Consider
There are more ways to soundproof your space. Adding mass to walls, using soundproofing blankets, and installing acoustic panels are some. These methods can enhance your space’s sound quality.
Some additional techniques to consider:
- Sealing gaps around doors and windows
- Using soundproofing materials for ceilings and floors
- Installing soundproofing doors and windows
By following these best practices and exploring more soundproofing methods, you can greatly improve your space’s sound quality. This leads to a quieter environment.
Where to Purchase Quality Acoustic Caulk and Putty
Now that you know about acoustic caulk and putty, it’s time to start your soundproofing project. It’s important to buy from trusted brands and suppliers. This ensures the quality of your materials.
Reliable Sources for Acoustic Products
You can find acoustic caulk and putty online or at hardware stores. Look for brands known for soundproofing, like those offering soundproofing sealant and acoustical sealant. These products help reduce noise and come in different types to meet your needs.
Shopping Options
You can shop online or in-store, whichever you prefer. Online, you can read reviews and compare products. This helps you make a good choice. On the other hand, in-store shopping lets you talk to sales staff and see products before buying.