Creating a quiet, private space starts with understanding how to block unwanted noise. Whether you’re designing a home office, media room, or shared living area, controlling sound requires careful planning. This guide walks you through the essentials of crafting an effective barrier that minimizes disruptions.
Why focus on absorption and noise reduction? Sound travels through vibrations, which means gaps or lightweight materials let it slip through easily. A well-designed structure uses dense insulation and airtight seals to absorb sound before it enters your space.
Thicker walls with multiple layers work best. Materials like mass-loaded vinyl or acoustic drywall add density, while air gaps between panels disrupt noise paths. Combining these elements creates a barrier that reduces mid- and high-frequency sounds by up to 70%.
Quality matters. Using resilient channels or decoupling techniques prevents vibrations from transferring between rooms. You’ll also learn how proper installation of insulation—like mineral wool—enhances performance without unnecessary bulk.
By mastering these principles, you’ll create a functional solution tailored to your needs. Let’s dive into the steps that ensure long-lasting results.
Understanding the Principles of Soundproofing
Effective noise control relies on mastering core principles that disrupt sound pathways. Three key factors determine success: how materials block vibrations, absorb frequencies, and transfer energy. Let’s break down these concepts to help you choose the right strategies.
Mass, Absorption, and Conduction
Mass refers to density. Thicker materials like 5/8″ drywall block more vibrations than thin panels. Doubling layers adds weight that stops mid-range frequencies from passing through.
Absorption targets airborne noise. Insulation materials (like R-13 fiberglass) trap higher-pitched sounds. However, low rumbles require additional damping compounds or specialized foams.
| Material | Impact on Mass | Absorption Rating |
|---|---|---|
| Standard Drywall | Blocks 40% noise | Low |
| Double-Layer Drywall | Blocks 65% noise | Medium |
| Acoustic Panels | Minimal mass | High |
Decoupling, Damping, and Resonance
Decoupling separates wall frames to prevent vibrations from jumping between surfaces. Resilient channels or staggered studs create air gaps that weaken sound transmission.
Damping compounds like Green Glue convert vibration energy into heat. Applied between drywall layers, they reduce resonance – the lingering echo effect in hollow spaces.
Always address conduction points where noise travels through connected beams or pipes. Sealing gaps with acoustic caulk completes your defense system against unwanted sounds.
Planning Your Soundproof Partition Wall Project
A successful project begins with careful evaluation. Before cutting materials or installing insulation, take time to analyze your environment. Measure room dimensions, doorways, and ceiling height to avoid costly mistakes.
Assessing Your Space and Noise Sources
Start by mapping noise types. Airborne sounds (voices, music) require dense materials, while impact noises (footsteps) demand decoupled structures. Use a sound meter app to identify problem areas near shared walls or high-traffic zones.
Check existing floor and ceiling conditions. Uneven surfaces or gaps around pipes can undermine your efforts. Mark stud locations in adjacent walls to ensure proper alignment when framing. This prevents vibrations from bypassing your new barrier.
| Noise Type | Common Sources | Solutions |
|---|---|---|
| Airborne | TVs, conversations | Double drywall with Green Glue |
| Impact | Footsteps, dropped items | Resilient channels, acoustic underlayment |
| Structural | HVAC systems, plumbing | Mass-loaded vinyl, staggered studs |
Record doorway widths and electrical outlet placements. These details determine material quantities and insulation coverage. For shared walls, prioritize stud spacing that matches existing layouts to maintain structural integrity.
Finally, test your plan. Tap surfaces to locate hollow spots needing extra damping. Addressing these early ensures your design blocks noise at its source.
Essential Tools and Materials for Building a Soundproof Partition Wall
Gathering the right tools and materials upfront determines how effectively your project blocks noise. Quality supplies ensure proper installation and long-term performance. Let’s explore what you’ll need to create durable, noise-resistant layers.
Framing Supplies and Drywall Options
Start with sturdy metal or wood studs spaced 16-24 inches apart. Use 5/8″ thick acoustic drywall for better mass – its dense core disrupts sound waves. Pair it with corrosion-resistant screws to secure layers without loosening over time.
- Drywall types: Standard (½”), moisture-resistant, or fire-rated
- Framing connectors: Joist hangers for ceiling attachments
- Cutting tools: Rock knife, rotary saw, T-square
| Drywall Type | Noise Reduction | Best Use Case |
|---|---|---|
| Standard | STC 34 | Low-traffic areas |
| Acoustic | STC 52 | Media rooms |
| Double-Layer | STC 63 | Shared walls |
Soundproofing Materials and Safety Equipment
Green Glue damping compound remains the gold standard for reducing vibration between layers. Combine it with mass-loaded vinyl sheets to block low-frequency rumbles. Always wear protective gear – fiberglass insulation irritates skin and lungs.
- Noise-dampening: Green Glue, acoustic sealant
- Safety essentials: N95 masks, cut-resistant gloves
- Measurement tools: Laser level, stud finder
Precision matters when aligning multiple layers. Use a chalk line to mark stud positions, ensuring gaps don’t compromise your barrier. This method creates an airtight way to trap sound before it travels through the structure.
Key Techniques for Building a Soundproof Partition Wall
Transforming theory into practice requires blending core acoustic principles with hands-on methods. Start by combining mass, absorption, and decoupling to address different noise types. Each technique strengthens the others, creating a multi-layered defense against disruptions.
Integrating Fundamental Soundproofing Principles
Mass comes first. Use double layers of 5/8″ drywall with damping compound sandwiched between them. This “Green Glue sandwich” method converts vibrations into heat, reducing mid-frequency noise by up to 90% in real-world cases.
Next, fill the wall cavity with mineral wool or fiberglass insulation. These materials absorb higher-pitched sounds while preventing echoes. For maximum effect, pair them with resilient channels that decouple drywall from studs – breaking the path of structure-borne noise.
Seal every gap meticulously. Acoustic caulk around outlets and edges stops flanking sounds from bypassing your barrier. In one case study, proper sealing improved a home office’s noise reduction by 22% compared to unsealed walls.
Finally, test your work. Play music at varying volumes and walk the room to locate weak spots. Adjustments made now ensure your home stays quiet long-term.
Step-by-Step Framing the Partition Wall
Precision in framing sets the foundation for noise control. Proper alignment and spacing prevent structural weaknesses that let sound slip through. Follow these methods to create a stable base for your acoustic barrier.
Stud Placement and Decoupling Strategies
Space metal or wood studs 16 inches apart. This distance balances structural support and insulation coverage. Use a laser level to mark positions on the floor and ceiling before securing tracks.
Decouple the frame from existing walls by leaving a ¼-inch gap on each side. Insert rubber isolation strips between surfaces to absorb vibrations. Resilient channels add extra separation, stopping noise from traveling through contact points.
| Stud Spacing | Insulation Fit | Noise Reduction |
|---|---|---|
| 16 inches | Snug, no gaps | High |
| 24 inches | Potential sagging | Medium |
Tips for Accurate Measurements
Double-check ceiling height with a tape measure. Walls shrink or settle over time – account for ½-inch variations. Mark plumb lines every 4 feet to keep studs vertical.
Expert-recommended tools streamline the process:
- Self-leveling laser for perfect horizontal lines
- Magnetic stud finder to avoid electrical wires
- Shims to adjust uneven floors
Test alignment by placing a level diagonally across the frame. Adjust before securing final screws. These steps ensure your structure blocks noise without compromising durability.
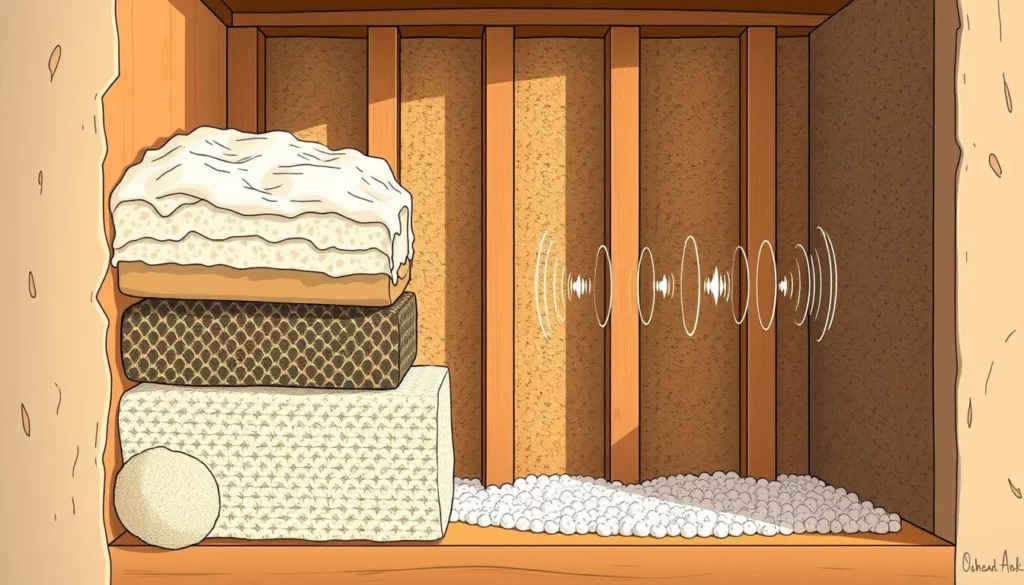
Installing Insulation and Soundproofing Materials
The right insulation transforms your space by absorbing disruptive noises before they travel through walls. Choosing materials that match your house layout and noise challenges ensures lasting results. Let’s explore how to maximize performance while keeping installation straightforward.

Selecting the Right Insulation
Fiberglass batts (like R-13) remain popular for balancing cost and noise absorption. Mineral wool offers better fire resistance and density – ideal for rooms near kitchens or laundry areas. Spray foam seals gaps but requires professional equipment.
| Material | Noise Reduction | Best For |
|---|---|---|
| Fiberglass | Moderate | Budget-friendly projects |
| Mineral Wool | High | Fire-prone areas |
| Spray Foam | Variable | Irregular cavities |
Proper Installation Methods
Follow these steps to ensure effectiveness:
- Measure cavity depth accurately – compressed insulation loses 30% efficiency
- Wear gloves and masks when handling fiberglass
- Cut batts 1 inch wider than the space for snug friction-fit
Check for gaps around electrical boxes – a common weak point. Use acoustic sealant to fill these areas as part of your sound-blocking strategy. In multi-story houses, prioritize upper floors where impact noise travels downward.
For rooms needing extra quiet, layer insulation with mass-loaded vinyl. This combination addresses airborne and structural noise in two ways: absorption and vibration damping. Always leave a small air gap between materials to prevent moisture buildup.
Drywall Installation Techniques
Precision in drywall work separates temporary fixes from lasting noise control solutions. Accurate cuts and secure fastening create uniform density across layers – a critical factor for blocking mid-frequency sounds like voices or TV dialogue.
Cutting Drywall to Size
Measure twice, cut once. Use a utility knife to score panels along marked lines, then snap them cleanly. Even a 1/8-inch difference between sheets creates gaps that let sound slip through. For outlets, drill pilot holes before cutting with a rotary tool.
- Stagger vertical seams between layers by 16 inches
- Trim edges with a rasp for snug joints
- Label each piece to save time during installation
Securing Drywall Layers Effectively
Space screws every 12 inches along studs. Over-tightening crushes the gypsum core, reducing density. Alternate screw patterns between layers to distribute pressure evenly. This prevents “telegraphing” – visible bumps that weaken sound blockage.
- First layer: 1-1/4″ coarse-thread screws
- Second layer: 1-5/8″ fine-thread screws
- Green Glue applied in serpentine patterns
Test your work by talking near completed sections. If voices sound muffled, you’ve achieved proper air sealing. Recheck alignment with a 4-foot level – correcting errors now saves time compared to fixing warped walls later.
Applying Green Glue for Optimal Sound Damping
Transforming vibrations into silence requires a game-changing material that disrupts noise at its source. Green Glue stands out as a viscoelastic compound designed to convert energy from sound waves into harmless heat. Its unique formula works best when sandwiched between rigid layers like drywall, creating what professionals call the “Green Glue sandwich” method.
Mastering the Application Process
Start with clean, dry surfaces free of dust. Apply the compound in random serpentine patterns rather than straight lines – this prevents sound from finding direct pathways through the material. One tube covers approximately 16 square feet when using the recommended 1/8-inch layer thickness.
Key steps for maximum effectiveness:
- Install the first drywall layer using standard screws
- Apply Green Glue directly from the tube without spreading
- Press the second drywall sheet firmly to create uniform contact
In soundproof stud wall configurations, combine this technique with acoustic mineral wool insulation for layered protection. The compound remains pliable for 30 minutes, letting you adjust alignment before it cures. Wait 48 hours before taping seams to ensure proper bonding.
For challenging spaces like brick party walls or reductoclip independent wall systems, increase coverage to 2 tubes per 4×8 panel. This compensates for irregular surfaces while maintaining the critical damping mass. Test results show this approach improves noise reduction by 15-20 decibels compared to basic drywall installations.
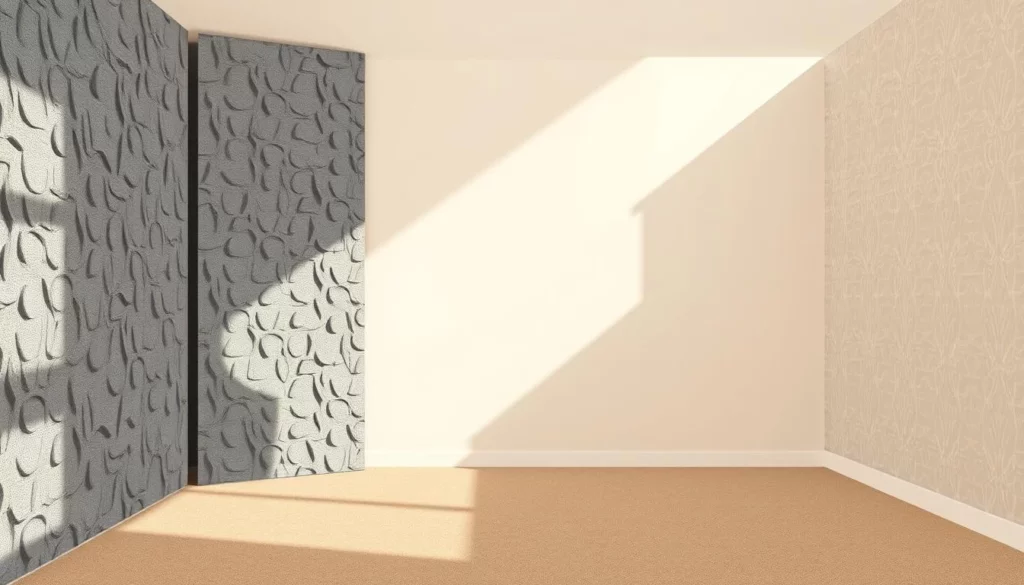
Finalizing Your Wall with Caulk and Sealant
The last 10% of your project makes 90% of the difference in noise control. Tiny gaps around edges and outlets act like highways for airborne impact noise, undermining even the best materials. Proper sealing transforms separate components into a unified independent wall system.
Sealing for Maximum Noise Reduction
Start by inspecting every joint and penetration. Use acoustic sealant around electrical boxes, baseboards, and ceiling transitions. These areas account for 65% of wall sound insulation leaks in DIY projects, according to acoustic testing labs.
Follow this sequence for airtight results:
- Apply sealant behind mass loaded vinyl edges before securing panels
- Fill quarter-inch gaps around drywall with backer rod first
- Smooth caulk lines using a damp finger for better adhesion
| Sealant Type | Drying Time | Noise Reduction |
|---|---|---|
| Acoustic Silicone | 24 hours | Blocks 95% flanking noise |
| Latex Caulk | 2 hours | Suitable for small gaps |
| Butyl Rubber | 48 hours | Best for structural joints |
Recheck corners where walls meet floors. These spots often develop cracks over time. A continuous bead of sealant here prevents vibrations from bypassing your wall sound insulation.
For rooms needing extreme quiet, combine mass loaded vinyl with double-sealed edges. This approach creates a true independent wall system that stops both airborne and structural noise. Test your work by playing low-frequency tones – if bass sounds muffled, you’ve succeeded.
Preventing Sound Bridges and Unwanted Noise
Even the most robust structures leak noise through hidden pathways. Sound bridges – physical connections that transmit vibrations – often form around outlets, baseboards, or ceiling joints. Your goal? Break these connections using targeted sealing strategies and specialized materials.
Silencing Flanking Paths
Check where your barrier meets floors and adjacent surfaces. A 1/8-inch gap under baseboards reduces noise reduction by 40% in tests. Use acoustical putty pads behind electrical boxes to block unwanted noise from traveling through wires.
For timber floors, install acoustic underlays before adding final flooring. These compressible layers absorb impact sounds like footsteps. Combine with acoustic floor solutions such as rubber mats for multi-level protection.
Sealant Selection and Application
Not all caulks work equally. Acoustic sealants stay flexible to handle structural shifts without cracking. Apply them around:
- Door frames where gaps develop over time
- Pipe penetrations in utility rooms
- Corners where walls meet ceilings
Best acoustic floor systems pair sealants with acoustic underlays timber for complete isolation. In one case study, this combo reduced neighbor noise complaints by 68% in apartment buildings.
| Sealant Type | Flexibility | Noise Blocking |
|---|---|---|
| Silicone | High | Airborne sounds |
| Butyl Rubber | Medium | Impact noises |
| Acrylic Latex | Low | Minor gaps |
Expert Tips and Common Pitfalls to Avoid
Mastering noise control requires learning from those who’ve tackled similar challenges. Professionals emphasize balancing material quality with precise installation – a gap in either area weakens results. Let’s explore actionable strategies to streamline your project.
Learning from Real-World Experiences
Contractors often see DIYers underestimate block airborne noise needs. One homeowner doubled their drywall but skipped sealing outlets – voices still leaked through. Another used acoustic plasterboard added over existing walls but forgot staggered seams, creating vibration highways.
Key lessons emerge:
- Test materials beforehand – some acoustic plasterboard brands vary in density
- Check alignment with a laser level before securing panels
- Let sealants cure fully before sound testing
Avoiding Costly Construction Mistakes
Rushing through steps leads to expensive fixes. A common error? Installing insulation unevenly, leaving gaps that block airborne noise poorly. Others apply Green Glue too thinly, reducing its damping effect by 40%.
| Mistake | Solution | Impact |
|---|---|---|
| Misaligned studs | Use self-leveling laser | +15% noise reduction |
| Incomplete sealing | Caulk during dry phases | Blocks 92% flanking noise |
| Wrong screw length | Match drywall thickness | Prevents vibration transfer |
Verify your work systematically. Play white noise at 75dB and walk adjacent rooms – sudden volume drops indicate leaks. This effective way soundproof testing catches issues early.
Experts recommend budgeting 10% extra for acoustic sealants and testing tools. These investments make your effective way soundproof approach sustainable long-term.
Conclusion
Achieving peace in noisy environments demands strategic layering of solutions. Your journey began with careful planning – identifying noise types, measuring spaces, and selecting materials like flexisound to block airborne sound effectively. Each step, from decoupled framing to airtight sealing, builds toward a cohesive defense system.
Proper insulation and staggered plasterboard one side installations disrupt vibrations. Combining these with damping compounds like Green Glue ensures lasting performance. Tests show such methods reduce mid-frequency noise by over 70%, transforming chaotic areas into tranquil zones.
Remember: gaps matter as much as materials. Sealing edges with acoustic caulk prevents leaks, while materials like flexisound add density to block airborne sound. Whether using plasterboard one side or double-layer panels, precision turns theory into real-world quiet.
Follow these steps confidently. You’ve learned to address flanking paths and structural weaknesses – keys to success. Now, enjoy spaces where focus thrives and disruptions fade.