Creating a peaceful living space starts with soundproofing floors. You can make it easier by focusing on specific objects, not whole barriers. By decoupling objects from the floor, you can cut down on noise.
Knowing the basics of soundproofing is key. You can tackle different types of noise like footstep, airborne, or vibrational. Using acoustic panels and sealing gaps can greatly enhance your space’s sound quality.
We aim to give you useful tips and materials to soundproof your floors well. With the right steps, you can make your living space quieter.
Understanding Soundproofing Basics
To soundproof your floor well, you need to know the basics. Soundproofing isn’t just about cutting down noise. It’s about making your home quieter and more peaceful. It helps reduce footsteps, outside noise, and improves sound quality.
What is Soundproofing?
Soundproofing means making a room quieter by blocking unwanted sounds. It uses materials and methods to stop sound from moving through walls, floors, and ceilings. Good soundproofing makes homes more comfortable, which is great for living spaces.
How Sound Travels in Homes
Sound moves by making vibrations. In homes, it goes through walls, floors, and ceilings. Knowing how sound moves helps you soundproof better. Experts say adding mass, damping, decoupling, and filling gaps are key.
There are two main sound types: airborne and impact. Airborne sound is like voices and music. Impact sound is from direct contact, like footsteps. Knowing this helps pick the right soundproofing methods.
Benefits of Soundproofing Floors
Soundproofing floors brings many benefits. It improves sound quality, cuts down noise, and makes your home more comfortable. It helps you enjoy a quieter space, better privacy, and less outside noise.
| Benefits | Description |
|---|---|
| Improved Sound Quality | Enhances the overall listening experience by reducing echo and reverberation. |
| Reduced Noise Pollution | Minimizes the intrusion of external noise, creating a quieter environment. |
| Increased Comfort | Provides a more comfortable living space by reducing disturbance from footsteps and other impact noises. |
Learning about soundproofing basics and using good techniques can greatly improve your home. Whether you own or rent, soundproofing your floors is a smart choice for better comfort and life quality.
Assessing Your Soundproofing Needs
The journey to a quieter home starts with understanding your soundproofing needs. This step is key to finding the best ways to reduce noise in your space.
Identifying Noise Sources
To soundproof your floors well, you must know where the noise comes from. Common noises include footsteps, voices, and outside sounds like traffic. Clap your hands to see how sound moves in your home. For a detailed reading, use a sound level meter to measure decibels.
Tips for Identifying Noise Sources:
- Notice the type of noise (impact, airborne, or structural)
- See when the noise is loudest
- Look for gaps or cracks in the floor
Determining the Area to Be Soundproofed
After finding the noise sources, decide how much area needs soundproofing. Measure the room or floor to figure out how much material you’ll need. Think about your home’s layout, flooring type, and any obstacles to soundproofing.
Testing Current Sound Levels
Testing sound levels gives you a starting point for measuring your soundproofing success. Use a sound level meter app on your phone or a dedicated device. Take readings in areas where noise is a problem.
Example Sound Level Readings:
| Location | Sound Level (dB) |
|---|---|
| Living Room | 50 dB |
| Bedroom | 40 dB |
| Kitchen | 60 dB |
By following these steps, you can understand your soundproofing needs. Then, pick the best soundproofing techniques for your situation. You can even find cheap soundproofing for floors options.
Flooring Types and Their Soundproofing Qualities
Knowing how different flooring types soundproof is key to a quieter home. Each material has its own soundproofing abilities. These can greatly affect your home’s noise level.
Hard Floors vs. Carpeted Floors
Hard floors, like hardwood or tile, bounce sound back rather than soak it up. This makes them harder to soundproof. Carpeted floors, with their carpet and underlayment, do a better job at sound absorption.
Hard floors can be noisy, mainly due to foot traffic. But, there are ways and materials to boost their soundproofing. Carpeted floors, though better at sound absorption, have their own limits. Thin carpet or poor underlayment can be a problem.
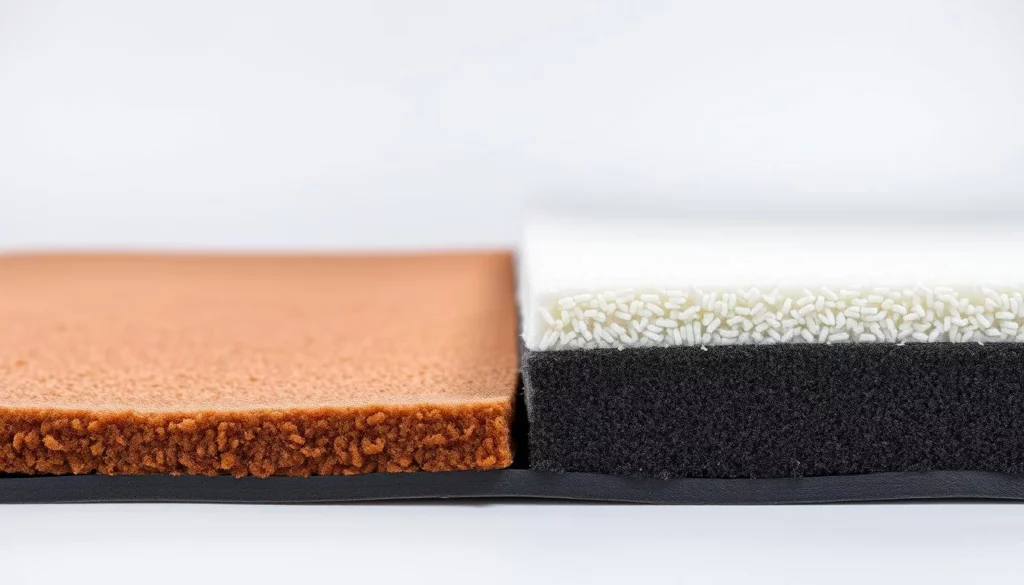
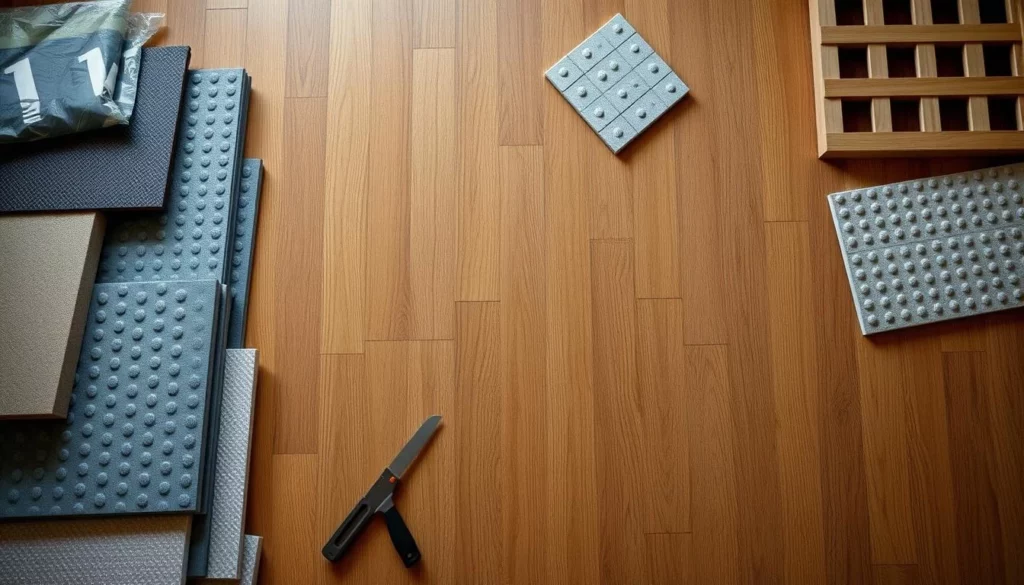
Best Materials for Sound Absorption
To absorb sound well, use acoustic underlayment and soundproofing mats under different floors. These are made to catch impact sound, cutting down on floor noise.
Top sound-absorbing materials include:
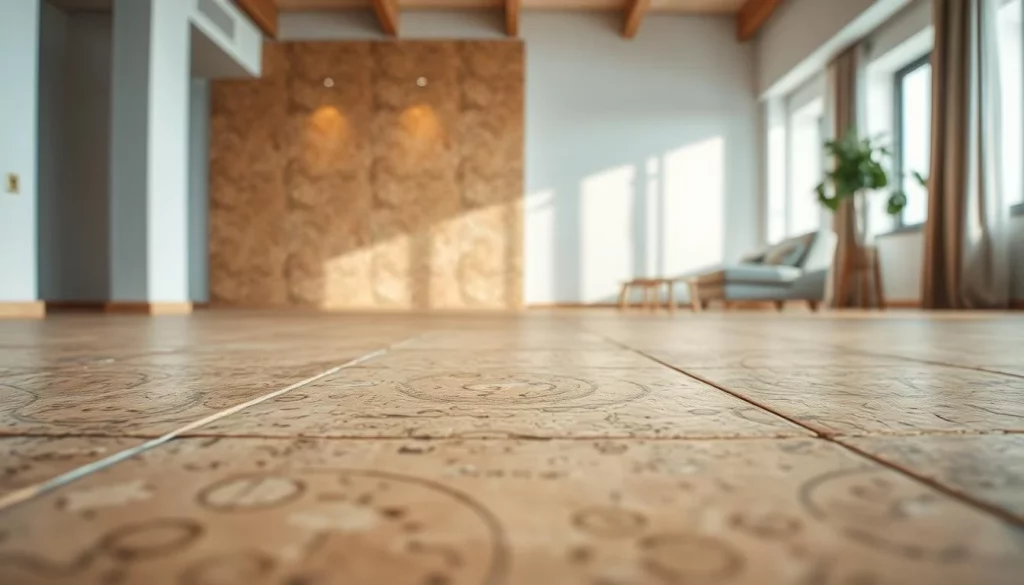
- Cork underlayment
- Rubber underlayment
- Mass-loaded vinyl
The Role of Underlayment
Underlayment is key in soundproofing. It’s a layer between the subfloor and the top flooring. It helps reduce impact sound and boosts floor soundproofing. Picking the right underlayment is vital for best soundproofing.
| Flooring Type | Soundproofing Quality | Recommended Underlayment |
|---|---|---|
| Hardwood | Low | Cork or rubber underlayment |
| Carpet | High | Thick, dense underlayment |
| Tile | Low | Mass-loaded vinyl or acoustic underlayment |
In summary, knowing about flooring soundproofing and using the right materials and underlayment can greatly improve your home’s quietness. By picking the right flooring and underlayment, you can make your home quieter and more comfortable.
DIY Soundproofing Techniques
DIY soundproofing is a smart way to make your home quieter. You can boost your floor’s soundproofing with simple steps.
Adding Mass to the Floor
Adding mass to your floor is a great DIY trick. You can use heavy stuff or mass-loaded vinyl. This makes it harder for sound to get through.
- Use mass-loaded vinyl for effective soundproofing.
- Adding plywood or OSB can also increase mass.
- Make sure the added material is well attached.
Using Soundproofing Mats
Soundproofing mats are another good DIY choice. Mats like acoustic foam or rubber can go under your floor. They soak up the energy from footsteps, cutting down on noise.
Benefits of Soundproofing Mats:
- They cut down on impact noise.
- They’re easy to put in place.
- Works with many types of flooring.
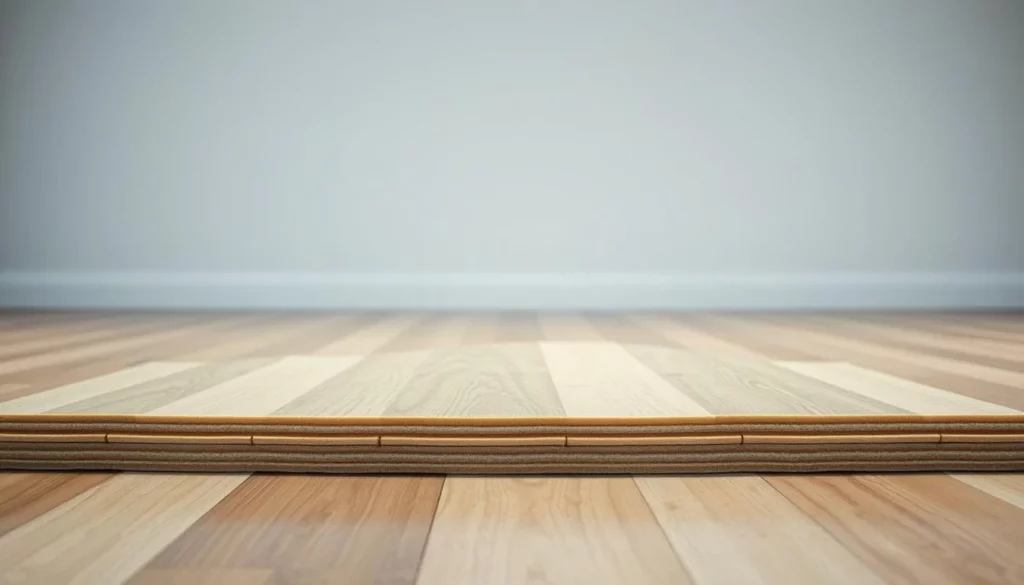
Installing Floating Floors
Installing a floating floor is a bit more work but very effective. A floating floor isn’t stuck to the subfloor, which helps block sound. You can use laminate or engineered wood for this.

These DIY methods can make your home quieter. Whether you add mass, use mats, or go for a floating floor, they all help create a quieter space.
Insulation Options for Sound Reduction
Effective soundproofing needs a good plan, including the right insulation for your floor. Insulation is key in cutting down noise between floors. It’s a must for any soundproofing project.
Types of Insulation for Soundproofing
There are many insulation types for soundproofing, each with its own benefits. Here are some common ones:
- Fiberglass Insulation: It’s affordable, easy to put in, and absorbs sound well.
- Rock Wool Insulation: It’s dense and great at absorbing sound.
- Acoustic Foam: Made for soundproofing, it’s very good at soaking up sound waves.
- Mass-Loaded Vinyl: A flexible, heavy vinyl sheet loaded with metal, perfect for soundproofing.
The right insulation depends on your soundproofing needs and floor type. For example, hardwood floors might need different insulation than concrete floors.
Installation Tips for Maximum Effectiveness
Proper installation is key for effective insulation. Here are some tips:
- Ensure a Tight Seal: Gaps and cracks can lessen insulation’s effect. Seal all joints and edges well.
- Use the Correct Installation Method: Each insulation type needs a specific way to be installed. Follow the manufacturer’s guide for best results.
- Consider Professional Help: If you’re not sure about installation, get a professional to do it right.
Good insulation can greatly reduce sound transmission. It makes your floor soundproof better.
| Insulation Type | Sound Absorption | Cost |
|---|---|---|
| Fiberglass | Good | Low |
| Rock Wool | Excellent | Medium |
| Acoustic Foam | Excellent | High |
| Mass-Loaded Vinyl | Excellent | High |
Choosing the right insulation and installing it well can greatly improve your floor’s soundproofing. This makes your living space quieter and more comfortable.
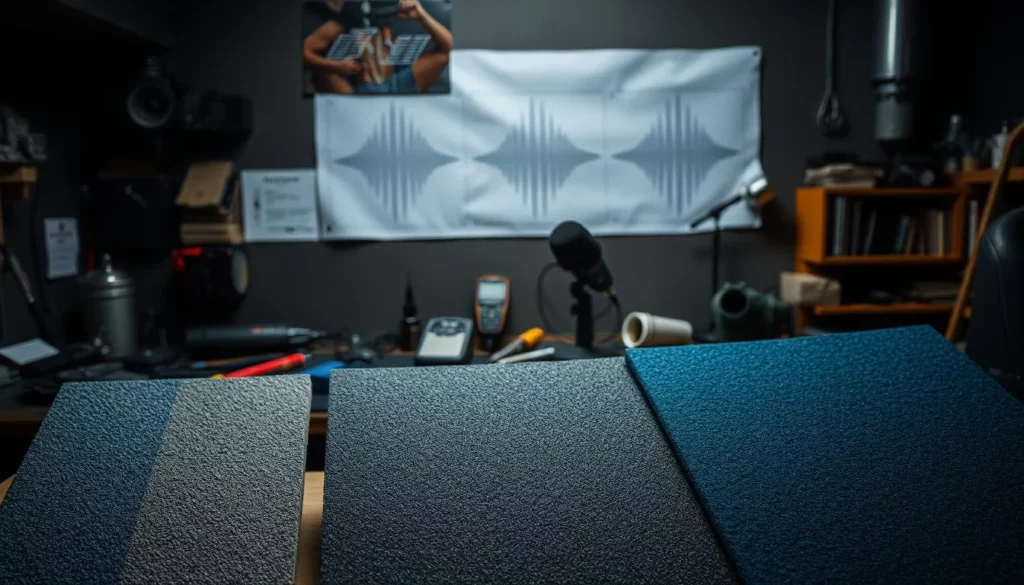
Utilizing Acoustic Panels
Acoustic panels are a simple yet effective solution for reducing echo and reverberation in your home. They absorb sound waves, improving the sound quality of a room. This makes it a more comfortable space for relaxation or entertainment.
Optimal Placement for Acoustic Panels
To maximize their effectiveness, acoustic panels should be installed in areas where sound waves are most prominent. This includes walls, ceilings, and corners of rooms where sound tends to bounce around. Strategic placement is key to achieving the best results.
- Identify areas with high sound reflection.
- Consider the layout and dimensions of the room.
- Experiment with different placements to find the most effective positions.
Variety of Acoustic Panels
There are various types of acoustic panels available, catering to different decor styles and soundproofing needs. Some popular options include:
- Fabric-wrapped panels, which offer a customizable aesthetic.
- Wood panels, providing a more natural look.
- Membrane panels, known for their high sound absorption capabilities.
Enhancing Effectiveness with Decor
You can further enhance the effectiveness of acoustic panels by incorporating them into your decor. Adding plants around the panels or using decorative frames can not only improve sound absorption but also contribute to a more visually appealing space.
By utilizing acoustic panels and thoughtfully integrating them into your home’s design, you can achieve a significant reduction in unwanted echo and reverberation. This creates a more peaceful and enjoyable living environment.
Sealing Gaps and Cracks
Gaps and cracks can really hurt your soundproofing. They let sound in or out. So, it’s key to find and seal these gaps for good soundproofing.
Best Materials for Sealing
Choosing the right materials for sealing is important. Acoustic caulk is top-notch because it blocks sound. Spray foam and weatherstripping also work well. They fill gaps and stop air leaks that mess with soundproofing.
| Material | Description | Effectiveness |
|---|---|---|
| Acoustic Caulk | A specialized caulk designed for soundproofing, flexible, and durable. | High |
| Spray Foam | Expands to fill large gaps, providing insulation and sealing air leaks. | High |
| Weatherstripping | A flexible material used to seal gaps around doors and windows. | Medium |
Step-by-Step Sealing Process
Sealing gaps and cracks is easy:
- Clean the area around the gap or crack to ensure a clean surface for sealing.
- Apply the chosen sealant, making sure to fill the gap completely.
- Allow the sealant to dry according to the manufacturer’s instructions.
- Test the area to ensure that the gap is fully sealed and there are no air leaks.
Importance of Air Leaks in Sound Transfer
Air leaks are big in sound transfer. Even tiny gaps can let sound in or out. Sealing these gaps makes your floor soundproof better, making your space quieter.
By using the right materials and following these steps, you can seal gaps well. This simple trick is key for cheap soundproofing on floors and better soundproofing underlayment.
The Role of Rugs and Carpets
Rugs and carpets are key in soundproofing floors. They soak up sound waves and cut down on noise. Adding them to your DIY efforts can greatly improve your space’s quietness.
Choosing the Right Rugs
When picking rugs for soundproofing, think about thickness, material, and density. Thicker rugs with dense piles work best. Wool or plush materials are good because they absorb sound well. Choose rugs with high pile density for better sound absorption.
Layering Techniques
Layering rugs or adding underlayment boosts sound absorption. Begin with a thick underlayment for a soundproofing base. Then, place a dense rug on top. For more sound reduction, layer multiple rugs or use area rugs over big carpeted areas.
- Start with a thick underlayment for the base.
- Add a dense rug or carpet on top.
- Consider layering multiple rugs for enhanced soundproofing.
Maintenance Tips
To keep your rugs soundproofing well, regular care is key. Vacuum often to avoid dust, which can lessen sound absorption. Rotate your rugs to ensure even wear. Always follow the manufacturer’s cleaning advice to keep your rugs effective.
Additional Tools and Accessories
Soundproofing your space needs more than just the basics. You’ll also need extra tools and accessories for a successful project. These tools help you get a better soundproofing solution and make installation easier.
Soundproofing Adhesives and Caulk
Choosing the right adhesives and caulk is key for a tight seal. This prevents air leaks, which can ruin your soundproofing efforts. Soundproofing adhesives and caulk are made to work with soundproofing materials. They provide a strong and effective seal.
- Acoustic caulk seals gaps and cracks, reducing sound transmission.
- Adhesives bond soundproofing materials to the floor or other surfaces.
Essentials for Installation Projects
The right equipment for installation projects is crucial. You’ll need safety gear like gloves and masks. Also, power tools like drills and saws help with the installation.
| Tool | Description | Use Case |
|---|---|---|
| Drill | Power tool for making holes | Installing soundproofing materials |
| Saw | Tool for cutting materials | Cutting soundproofing materials to size |
| Gloves | Safety gear for hand protection | Protecting hands during installation |
Measuring and Planning Tools
Accurate measurements and planning are vital for a successful soundproofing project. Tools like sound level meters and blueprints help you assess your needs. They also help plan the installation effectively.
Using these additional tools and accessories can improve your soundproofing project. You’ll get a quieter space.
Final Thoughts on Soundproofing Floors
After trying DIY floor soundproofing, it’s key to check how well it worked. You can do this by listening to sound levels and tweaking your setup if needed.
Post-Installation Evaluation
Look for any sound leaks or spots that need more soundproofing materials. This step makes sure your soundproofing is top-notch. You’ll enjoy a quieter home.
Ongoing Improvement Strategies
To keep your soundproofing at its best, think about adding rugs and acoustic panels. Regular checks and tweaks will help you get the sound level you want.
Knowing When to Seek Expertise
If your soundproofing project is too hard or you need special help, get a pro’s advice. They can offer specific tips on soundproofing floors and solve any problems.
By following these tips and using DIY soundproofing wisely, you can make your living space quieter and more comfortable.