Are you tired of unwanted noise disrupting your peaceful space? Soundproofing can be an effective solution. To achieve this, it’s essential to understand the principles behind it.
Effective soundproofing involves several key principles: mass, absorption, conduction, mechanical decoupling, and resonance. By grasping these concepts, you can create a tailored soundproofing solution that suits your needs.
Using the right soundproofing materials and soundproofing techniques is crucial. In this guide, we will walk you through the process of building a soundproofing barrier. This will help you achieve a more serene environment.
Understanding Soundproofing Basics
Before you start soundproofing, it’s important to understand the basics. Soundproofing isn’t just about blocking noise. It’s about knowing how sound works in your space and using the right methods to control it.
What is Soundproofing?
Soundproofing means making it harder for sound to move from one place to another. You can use absorption, damping, and isolation to do this. It’s all about finding the right mix for your space, the noise you’re dealing with, and the materials you use.
How Sound Travels
Sound moves through the air as waves and can also go through solid things. Knowing how sound travels helps you pick the best ways to soundproof. For example, to make a home studio quieter, you might use acoustic panels to block sound.
Benefits of Soundproofing Your Space
Soundproofing your space can bring many benefits. It can make your audio better, reduce noise, and keep things private. Whether you’re setting up a studio or just want a quieter home, soundproofing makes your space better.
| Benefit | Description |
|---|---|
| Improved Audio Quality | Soundproofing stops echo and outside noise, making your recordings clearer. |
| Reduced Noise Pollution | It keeps sound inside, reducing noise for those nearby. |
| Increased Privacy | Soundproofing keeps what’s happening in a room to itself. |
Materials Needed for Your DIY Project
Before starting your soundproofing barrier, know what materials you need. The right stuff will help your DIY project cut down on noise.
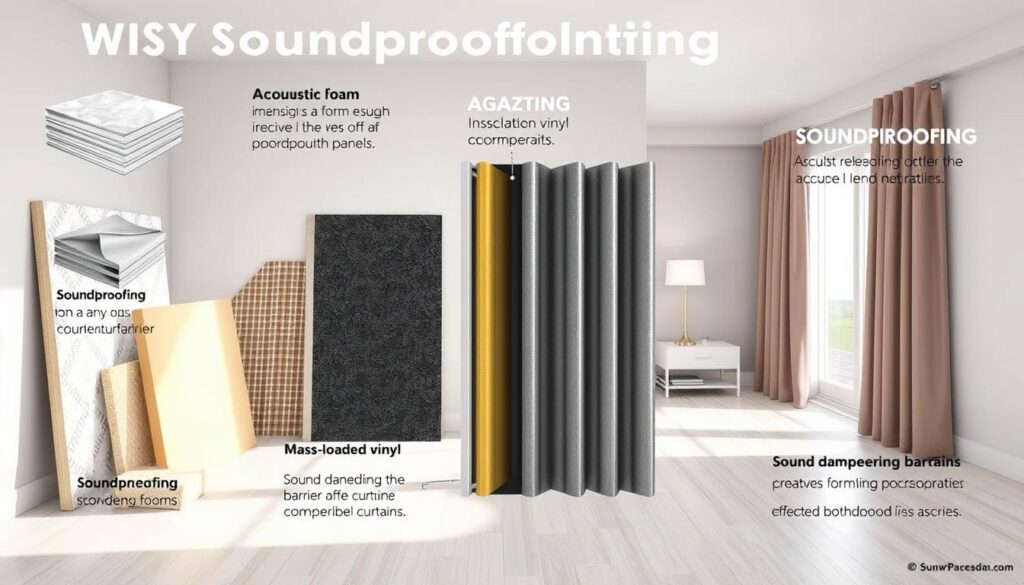
Common Soundproofing Materials
For a good DIY soundproofing job, pick materials that block or absorb sound. Here are some common ones:
- Mass Loaded Vinyl: A heavy, flexible vinyl sheet to dampen sound.
- Acoustic Insulation: Stuff like fiberglass or mineral wool that soaks up sound.
- Soundproofing Panels: Ready-made panels to catch sound.
- 1×4 Boards: For building your sound barrier’s frame.
- Screen Door Material: Good for soundproofing panels.
- Insulation: Fills gaps to cut down on noise.
- Acoustic Fabric: Covers panels for looks.
Where to Purchase Supplies
You can get soundproofing materials at local hardware stores or online. Home Depot and Lowe’s have a lot of options. Amazon and acoustic stores online also have a wide range.
Cost Considerations
The price of soundproofing materials changes based on type and quality. Here’s a rough idea of what you might spend:
| Material | Cost per Unit | Quantity Needed |
|---|---|---|
| Mass Loaded Vinyl | $1.50 per sq. ft. | Depends on barrier size |
| Acoustic Insulation | $0.50 per sq. ft. | Depends on barrier size |
| 1×4 Boards | $2-$5 per board | Depends on frame design |
| Acoustic Fabric | $1-$3 per sq. ft. | Depends on panel size |
When planning your DIY soundproofing, think about cost and how well materials work. Choose wisely and stay within your budget to make a good sound barrier.
Choosing the Right Location for Your Barrier
Choosing the right spot for your DIY soundproofing barrier is key to its success. When working on soundproofing projects, like home studios, where you place your barrier matters a lot. It can greatly affect how well it works.
Identifying Noise Sources
To soundproof an area well, first find out where the noise comes from. Look at both outside noise that gets in and inside noise that’s made. For home studios, this means finding out what sounds leak out or in.
Start by watching how noise patterns change throughout the day. This helps you figure out where the noise is coming from.
Assessing Space Layout
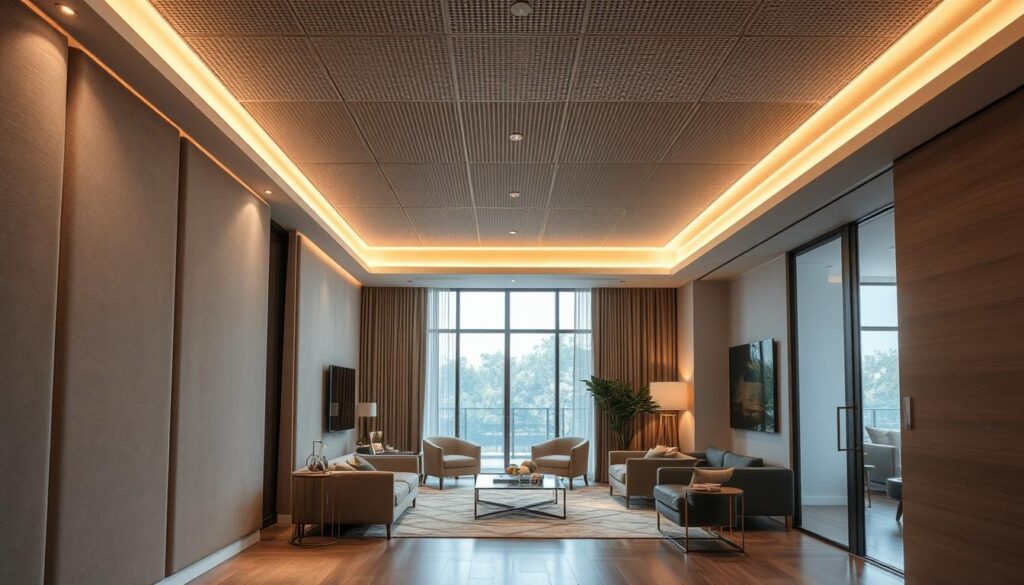
The layout of your space is very important for placing your soundproofing barrier. Think about the room’s size, where doors and windows are, and any other features that might affect sound. For example, if you’re soundproofing a studio, focus on walls near noisy areas or the ceiling in multi-story buildings.
Doing a detailed check will help you pick the best spot for your barrier. For more tips on soundproofing, check out this resource.
Consideration of Airflow and Aesthetics
Soundproofing is important, but don’t forget about airflow and looks. Good air flow keeps your space comfy, which is key in home studios. Also, your soundproofing barrier should look good with your space’s design.
Think about these things to find a balance between looks and function. For more on installing soundproof walls, see this guide.
By carefully thinking about these points, you can make sure your DIY soundproofing barrier works well and looks good in your space.
Preparing the Area for Installation
To get the best soundproofing, you need to prepare the area well. This means following a few important steps. These steps help you install soundproofing correctly and effectively.
Clearing the Space
Start by removing all clutter, furniture, and anything in the way. This makes your workspace clear and safe. Take out anything that could mess up your work or weaken the soundproofing.
Clearing also lets you check for any damage or uneven spots. Fixing these before you start helps the installation go smoothly.
Measuring and Marking
Then, measure the spot where you’ll put the soundproofing barrier. Get exact measurements to fit it right, and mark it with a pencil or marker. Make sure your measurements are right to avoid mistakes.
Getting the measurements right is key for good soundproofing. A proper fit means the barrier works better and doesn’t have gaps or weaknesses.
Ensuring Structural Integrity
Before you install, check if the area can hold the barrier’s weight. Look for damage or weakness and fix it if needed. It’s important to make sure the area can support the barrier for it to work well over time.
By doing these steps, you’ll set up for a successful soundproofing job. Good preparation is essential to meet your soundproofing goals. Whether you want to cut down on noise or improve sound quality, preparation is key.
Building Your Soundproofing Barrier
Building your DIY soundproofing barrier is easy if you pay attention to the details. It’s important to choose the right materials and use soundproofing techniques effectively. This will help you get the best results.
Step-by-Step Assembly
To start, prepare the frame of your barrier. Use 1×4 boards to make a strong structure. This will hold the soundproofing materials in place. For more details on materials, check our section on soundproofing materials.
- Cut the 1×4 boards to the right length.
- Use screws or nails to assemble the frame.
- Make sure the frame is square and sturdy.
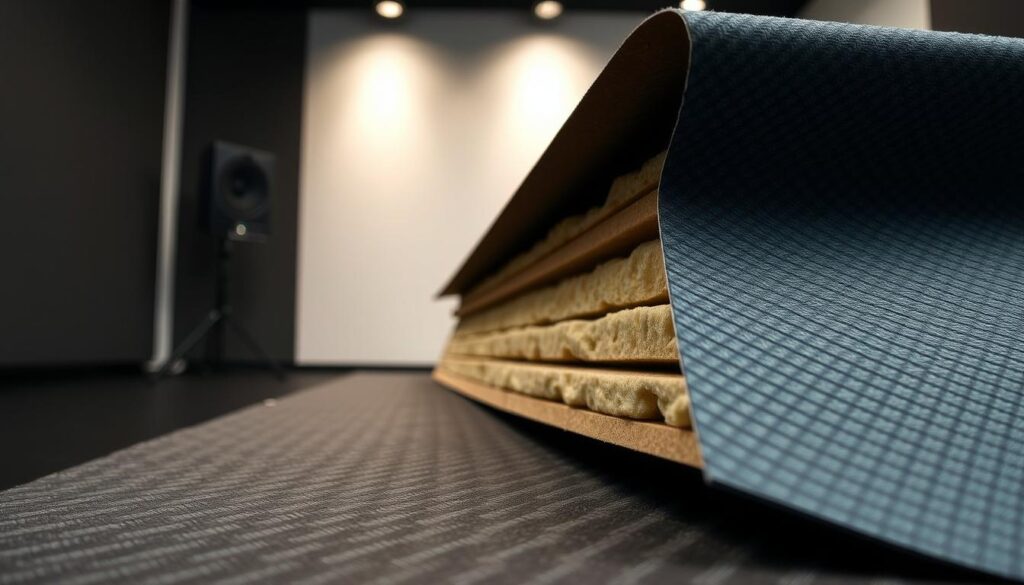
After that, add the soundproofing materials. You’ll need to layer different materials to block sound well. Use a mix of mass, absorption, and decoupling.
- Start with a layer of mass-loaded vinyl or similar heavy material.
- Add insulation, like fiberglass or mineral wool, for sound absorption.
- Use resilient channels for decoupling to reduce sound transmission.
Layering Techniques for Best Results
Layering is key in soundproofing. Mixing different materials and techniques boosts the barrier’s effectiveness. The goal is to use mass, absorption, and decoupling together.
- Mass: Use heavy materials like mass-loaded vinyl to block sound.
- Absorption: Add materials like insulation to absorb sound energy.
- Decoupling: Use resilient channels or similar products to decouple the soundproofing layers, reducing sound transmission.
By layering these elements carefully, you can make a very effective soundproofing barrier. Don’t forget to seal any gaps or joints to stop sound leaks.
For more tips, look into other soundproofing techniques and materials. They can help improve your DIY barrier.
Installing Your Barrier Properly
The success of your soundproofing project depends on the right barrier installation. Following each step correctly ensures effective DIY noise reduction. This makes your living or working space more comfortable.
Tools You Will Need
To install your soundproofing barrier, you’ll need some key tools. You’ll need a caulk gun for sealing, a dust mask for safety, a screw gun for securing, and a taping knife for finishing. Having these tools ready makes the job easier and faster.
- Caulk gun
- Dust mask
- Screw gun
- Taping knife
- Drywall anchors
- D-ring hangers
Safety Precautions
When installing your soundproofing barrier, safety comes first. Wearing a dust mask keeps dust out of your lungs. Make sure the area is well-ventilated to avoid other dangers. Always handle power tools carefully and follow the instructions.
| Safety Measure | Description |
|---|---|
| Wearing a dust mask | Protects against inhaling dust and debris |
| Ensuring good ventilation | Prevents accumulation of dust and fumes |
| Handling power tools with care | Reduces the risk of accidents and injuries |
Common Mistakes to Avoid
Avoiding common mistakes is key to a successful soundproofing project. Not sealing gaps properly can ruin your barrier’s effectiveness. Also, ignoring the area’s structural integrity is a big mistake.
- Not sealing gaps around the barrier
- Ignoring the structural integrity of the installation area
- Using the wrong type of soundproofing insulation
Knowing these common mistakes helps you avoid them. This way, you can achieve a successful soundproofing outcome.

Testing Your DIY Soundproofing Effectiveness
Testing your soundproofing barrier is key to knowing if it works. This is very important for home studios, where sound quality matters a lot. Testing helps make sure your DIY project really cuts down on noise.
To check how well your soundproofing works, you can use a few methods. One main way is to measure sound levels. You’ll need a sound level meter for this. It measures decibel levels on both sides of the barrier.
Sound Level Measurements
Measuring sound levels is a precise way to see how well your barrier works. First, take a reading of the background noise. Then, add a sound source and measure again. The difference shows how well the barrier blocks sound.
For the best results, take readings at different sound levels and frequencies. This gives a full picture of how your barrier performs.
Anechoic Chamber Principles
Another way to test your barrier is by using anechoic chamber principles. An anechoic chamber absorbs sound, making it “dead.” While you might not have a full chamber at home, you can still use these ideas.
By reducing sound reflections, you can better see how well your barrier works. Add sound-absorbing materials to the room. This makes it easier to test your barrier in a real-world setting.
In short, testing your DIY soundproofing barrier is crucial. Use sound level measurements and anechoic chamber ideas to check its performance. This way, you can make sure it works well for your home studio or any soundproofing project.
Maintenance and Upkeep of Your Barrier
Keeping your soundproofing barrier in top shape is key. This means doing regular checks and repairs. It also involves using the right cleaning methods.
Regular Checks and Repairs
It’s important to regularly check your soundproofing barrier. Look for any gaps or cracks in the soundproofing insulation. Fix these issues quickly to keep your barrier working well.
When you spot damage, fix it right away. This might mean reapplying soundproofing techniques or replacing parts. This way, you stop the problem from getting worse and keep your barrier in good condition.
Cleaning Techniques for Longevity
Cleaning your soundproofing barrier is crucial for its long life. Use a soft brush or a damp cloth to get rid of dust and dirt. Stay away from harsh chemicals or rough cleaners that could harm the materials.
For a deeper clean, mix a mild detergent with water. But make sure to rinse well to avoid any leftover residue. Also, think about the environment where your barrier is. Keeping humidity and temperature in check helps keep the materials in good shape. By following these soundproofing techniques, you can enjoy a quieter space for many years.
Additional Soundproofing Enhancements
To make your DIY soundproofing barrier even better, think about adding more soundproofing tricks. Mixing these methods can help you create a soundproofing plan that fits your needs perfectly.
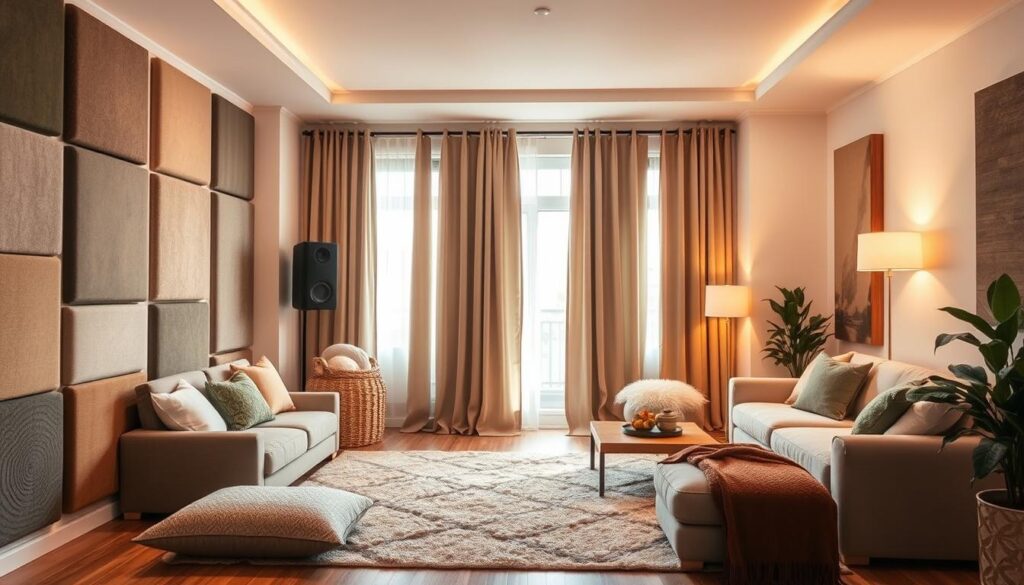
Soft Furnishings for Sound Absorption
Using soft items like rugs, curtains, and furniture can really help with sound absorption. These items cut down on echo and sound reflections, making your space quieter. Choose materials that are dense and textured to get the best sound-absorbing results.
Acoustic Panels for Improved Sound Quality
Acoustic panels are great for absorbing sound energy. They help reduce echoes and improve sound quality. By placing these panels in the right spots, you can control sound reflections and make your space sound better. This is a key part of making your DIY soundproofing barrier work its best.