Are you tired of outside noise ruining your peace? Soundproofing solutions can be pricey, but there’s a cheaper way. A DIY window plug is a great option for blocking out noise.
You can make a window plug with drywall, acoustic fiberboard, and acoustic barrier material. This easy method can really cut down on outside sounds.
With a simple guide, you can make your own DIY window plug. It will make your living or work space quieter. Using the right materials and some effort, you can get effective soundproofing without spending a lot.
Understanding the Need for Soundproofing
As cities grow, so does the noise pollution problem. This makes soundproofing solutions more important. You might not see how much noise pollution affects you until you experience quiet.
Noise pollution is more than just a bother. It can harm your health. Prolonged exposure to loud noises can cause stress, disrupt sleep, and even lead to heart disease. Soundproofing your windows can greatly reduce outside noise, improving your life quality.
The Impact of Noise Pollution
Noise pollution affects millions, causing health problems and lowering life quality. The World Health Organization says it’s a big environmental health risk. It can lead to hearing loss, tinnitus, and mental health issues.
| Health Impact | Description |
|---|---|
| Hearing Loss | Permanent damage to the ear’s ability to detect sound frequencies |
| Tinnitus | A condition characterized by ringing or other sounds in the ears |
| Psychological Distress | Increased stress levels, anxiety, and depression due to persistent noise |
Reasons for Soundproofing Windows
Soundproofing your windows offers many benefits. It can improve your sleep and make your home more comfortable. Reducing outside noise also boosts your home’s value and makes it more enjoyable.
- Reduce outside noise and improve sleep quality
- Enhance the overall comfort and value of your home
- Create a more peaceful living environment
Understanding the need for soundproofing and acting on it can greatly improve your home. Whether you want to cut down on noise or just enjoy a quieter home, soundproofing your windows is a smart choice.
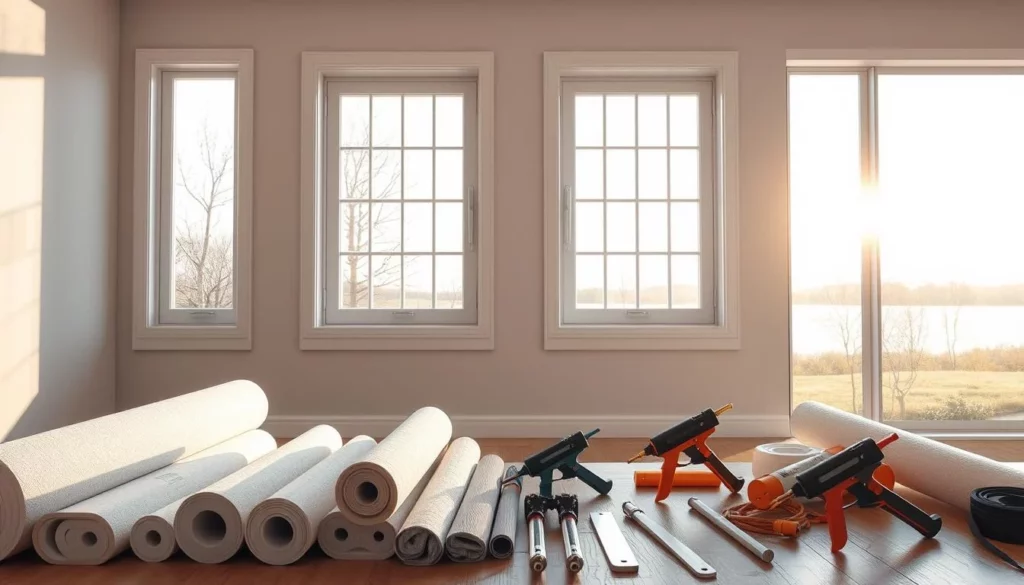
Choosing the Right Materials
When you’re soundproofing your windows, picking the right materials is key. They affect how well your DIY window plug works.
The best materials not only cut down on noise but also make your plug last longer. They need to be durable.
Types of Soundproofing Materials
There are many soundproofing materials out there. Each one has its own strengths and benefits.
- Acoustic fiberboard, known for its sound-absorbing properties
- Acoustic barrier material, designed to block sound transmission
- Drywall, a cost-effective option that can be used in conjunction with other materials for enhanced soundproofing
It’s important to know what each material can do. This helps you make the best choice.
Cost-Effective Options
Some soundproofing materials can be pricey. But, there are cheaper options that work just as well.
These affordable choices can help you save money without sacrificing quality.
| Material | Cost | Effectiveness |
|---|---|---|
| Acoustic Fiberboard | Moderate | High |
| Mass-Loaded Vinyl | Low | High |
| Drywall | Low | Moderate |
Recommended Tools for Your Project
To work with these materials well, you’ll need the right tools. They make the job easier and ensure your plug is made right.
- Heavy-duty shears for cutting through thicker materials
- Saws for precise cutting
- Staple guns for securing materials in place
Having the right tools is crucial. It helps you build a window plug that works as it should.
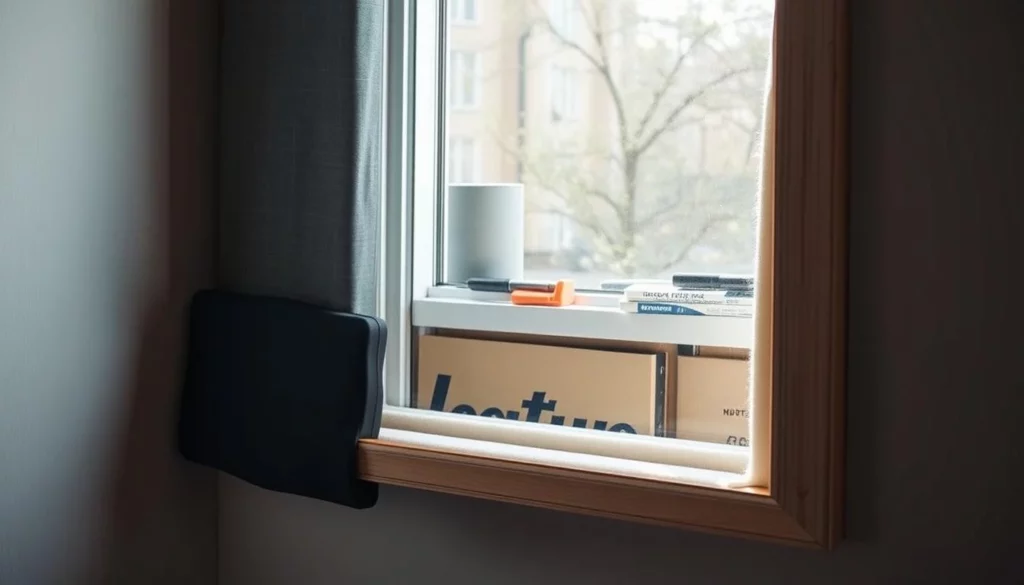
Measuring Your Window
Getting your window’s measurements right is key to making a DIY soundproofing plug. If your plug doesn’t fit well, it won’t block sound as much.
Necessary Measurements for a Plug
To make a plug that fits your window, you need to measure three things: width, height, and depth. The width and height help decide the plug’s size. The depth ensures it fits in the frame right.
- Measure the width at the top, middle, and bottom to account for any variations.
- Measure the height on both sides.
- Measure the depth of the frame to decide how thick your plug should be.
Tools for Accurate Measurement
You’ll need the right tools for precise measurements. A tape measure is crucial for measuring width, height, and depth. A level tool ensures your measurements are straight and level, which is vital for a good fit.
| Tool | Purpose |
|---|---|
| Tape Measure | Measuring width, height, and depth |
| Level Tool | Ensuring measurements are straight and level |
Common Measurement Mistakes to Avoid
When measuring your window, watch out for common mistakes. These include not measuring at multiple points, not considering the frame’s depth, and not double-checking your measurements. Knowing these mistakes helps make your DIY plug effective and easy to install.
To avoid these errors, take your time and double-check your measurements. It’s wise to ask a professional if you’re unsure about anything.
Designing Your Window Plug
A well-designed window plug can make your home soundproof and look great. When making your DIY window plug, mix function with style for the best look.
Basic Design Principles
The design of your window plug is key. A tight seal is crucial to block sound. Measure your window well and pick the right materials for a good fit.
Using soundproofing materials like acoustic foam or mass-loaded vinyl boosts the plug’s sound-blocking power.
Think about the plug’s thickness and density. Thicker, denser materials block sound better. But they might be harder to work with and install.
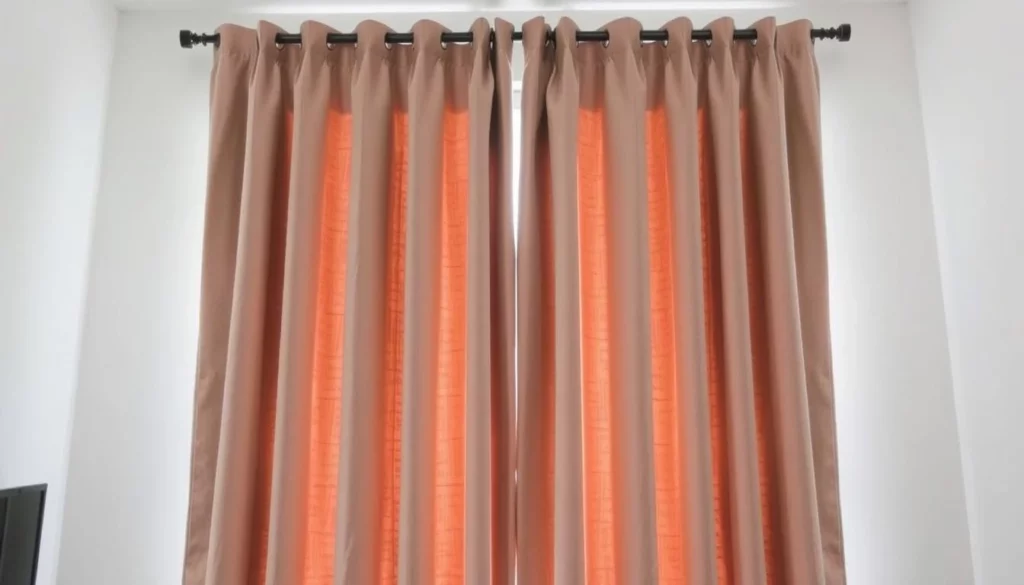
Customizing Your Plug for Aesthetics
Don’t forget about how your window plug looks. You can make it fit your home’s style by adding a finish or trim that matches your window frame. This makes the plug look like part of your room’s design.
Choose a material for the plug’s outside that goes with your decor. For example, use a wooden veneer or a painted finish to match your window frames. This detail makes your DIY window plug both useful and stylish.

Step-by-Step Guide to Creating a Window Plug
To soundproof your windows, follow a simple guide. This guide will help you make a quieter space. It includes several key steps.
Preparing Your Work Area
Before starting, prepare your work area. Clear space around your worktable or floor. This ensures you have room for your materials.
Cover the floor or work surface with a protective sheet. This prevents damage from sawdust, cuts, or spills. It also makes cleanup easier.
Organize your tools so they’re easy to reach. A clean and organized workspace helps you focus.
Cutting the Materials to Size
Now, cut your materials to the right size. Use heavy-duty shears or a saw for your material. Measure carefully and cut accurately for a snug fit.
- Measure your window’s width and length to determine the plug’s size.
- Cut the soundproofing material to your measurements.
- If using multiple layers, cut each layer to the same size.
Assembling the Window Plug
With your materials cut, it’s time to assemble the plug. Start by layering your soundproofing materials. If using a frame, attach the material with adhesive or fasteners.
Ensure the edges are secure and the surface is even. Add a finish or trim if you want. This improves the look and seals gaps.
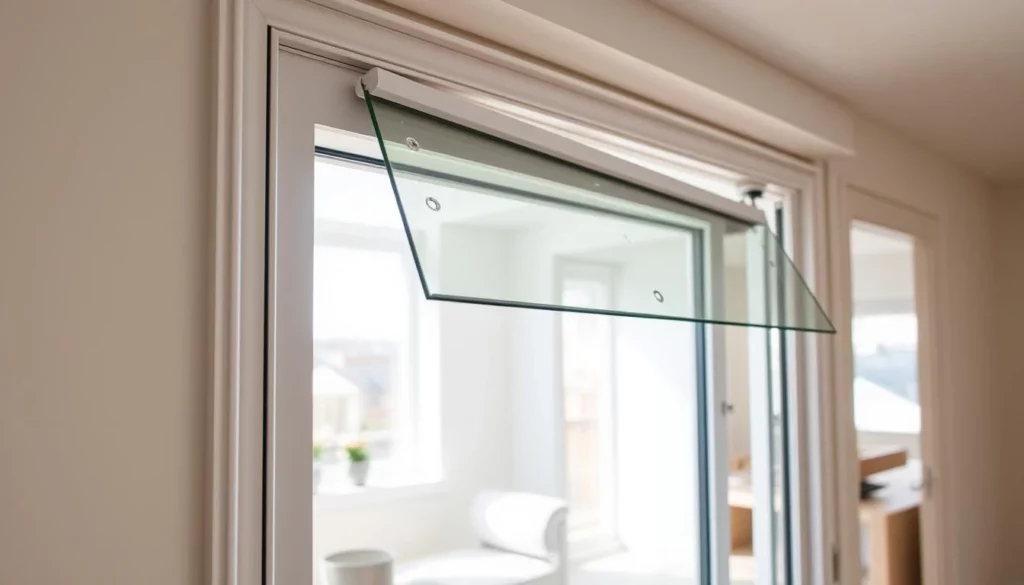
How to Install Your Window Plug
Now that you have your DIY window plug, it’s time to install it. This step is key for soundproofing your home. A correct installation ensures your plug works well, blocking outside noise and making your home more comfortable.
Proper Installation Techniques
Begin by lining up your window plug with the window frame. Make sure it fits snugly by pressing it gently into place. You might need to tweak it a bit to get a perfect fit, so take your time.
The exact installation steps can vary based on your plug’s design and material. But the main goal is always the same: to seal the window tightly to block sound.
Adjusting for a Secure Fit
After you’ve placed the plug, check for any gaps or uneven spots. Small tweaks can greatly improve its performance. If needed, add caulk or weatherstripping to seal it better.
Tips for a Seamless Look
To make your window plug blend with your home’s decor, add a finish or trim that matches your window. This not only looks good but also makes the installation look professional.
By following these tips and carefully adjusting your plug, you’ll enjoy a quieter, more comfortable home. Remember, the success of soundproofing depends on the details of how you install it.
Testing Your Soundproofing Results
To see if your DIY window plug works, you need to test it. This is key to knowing how well it blocks noise. It’s not about making everything silent, but about cutting down on outside noise.
Methods for Measuring Sound Reduction
There are ways to check how much noise your plug blocks. You can use a sound level meter for a precise measurement. This tool shows the difference in noise levels with and without the plug.
Another way is to listen to the sound with and without the plug. This lets you feel the difference in noise levels. For even better results, add sound-absorbing materials or acoustic panels to your test.
Realistic Expectations of Soundproofing
It’s important to know what to expect from your DIY window plug. While it can block a lot of noise, it won’t stop all of it. How much noise it blocks depends on the materials, design, and the noise level outside.
| Noise Type | Expected Reduction | Factors Affecting Reduction |
|---|---|---|
| High-frequency noise (e.g., traffic) | Significant reduction (up to 20 dB) | Material density, plug design |
| Low-frequency noise (e.g., construction) | Moderate reduction (up to 10 dB) | Material thickness, seal quality |
Knowing what your DIY window plug can do helps you see its value. It also shows where you might need to make changes to get better results.
Maintenance and Care for Your Window Plug
Keeping your window plug in good shape is easy with regular care. It’s important to clean and take care of it over time.
Cleaning Recommendations
Cleaning your window plug often is key. Dusting and vacuuming are the best ways to keep it clean. For a deeper clean, use a damp cloth, but make sure it’s dry before putting it back.
- Use a soft-bristled brush or a vacuum cleaner with a gentle suction setting to remove dust.
- Avoid using harsh chemicals or abrasive cleaners that could damage the materials.
- For tougher stains, a mild soap solution can be used, but always dry the plug thoroughly afterward.
Long-Term Care Tips
There are also long-term care tips to keep your window plug working well. Inspecting the plug periodically for wear and tear is important. Look for any gaps or damage that could affect its soundproofing.
| Maintenance Task | Frequency | Benefits |
|---|---|---|
| Dusting/Vacuuming | Weekly | Removes dust and debris, maintaining soundproofing effectiveness |
| Inspecting for Damage | Monthly | Identifies potential issues early, ensuring continued effectiveness |
| Deep Cleaning | Quarterly | Removes stubborn dirt and grime, prolonging the life of the plug |
By following these tips, your DIY window plug will keep sound out for a long time. Taking good care of it will make it last longer and work better.
Alternatives to DIY Window Plugs
You’ve made a DIY window plug for soundproofing. But, you might wonder if there are other choices. If you’re searching for different ways to block sound, think about getting professional help.
Professional Soundproofing Services
Professional soundproofing services can give you a better solution. They start with checking your space and then put in special sound-blocking materials. This might cost more than DIY, but it can block more noise.
Cost Comparison
When looking at soundproofing costs, think about the upfront price, how much sound it blocks, and upkeep needs. DIY plugs might save money upfront, but pros might block more sound for the long run. Think about what you need and can afford to choose the best option.