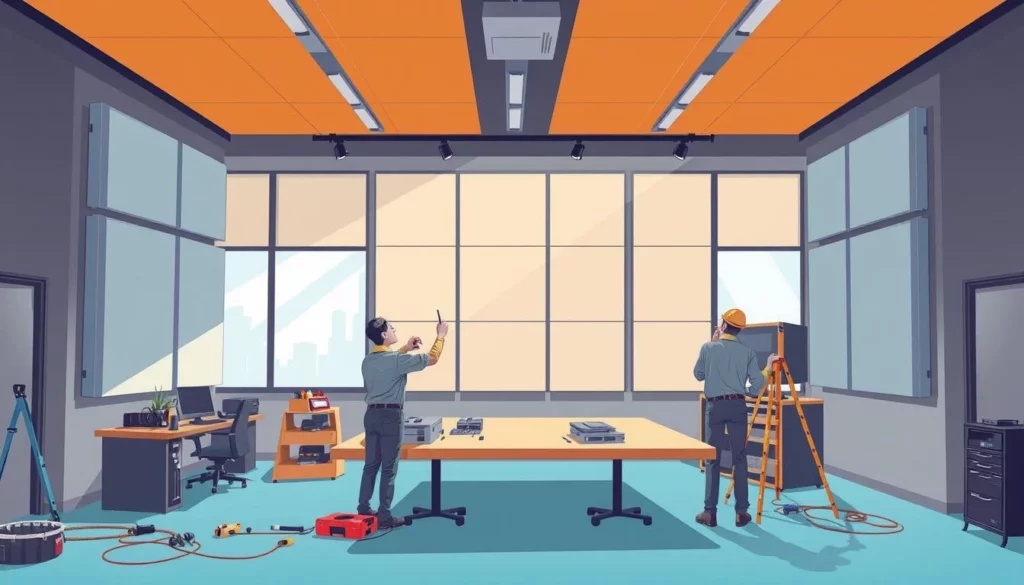
Creating an optimal sound environment starts with proper setup. Whether you’re enhancing a home theater or a corporate space, strategic placement ensures maximum noise reduction and clarity. With the right tools and methods, achieving professional-grade results is simpler than you think.
Many projects offer flexibility: you can tackle them yourself or hire experts. Systems like Impaling Clips and Z-Clips provide secure mounting without damaging walls. These methods are ideal for both temporary setups and permanent solutions, adapting to your needs.
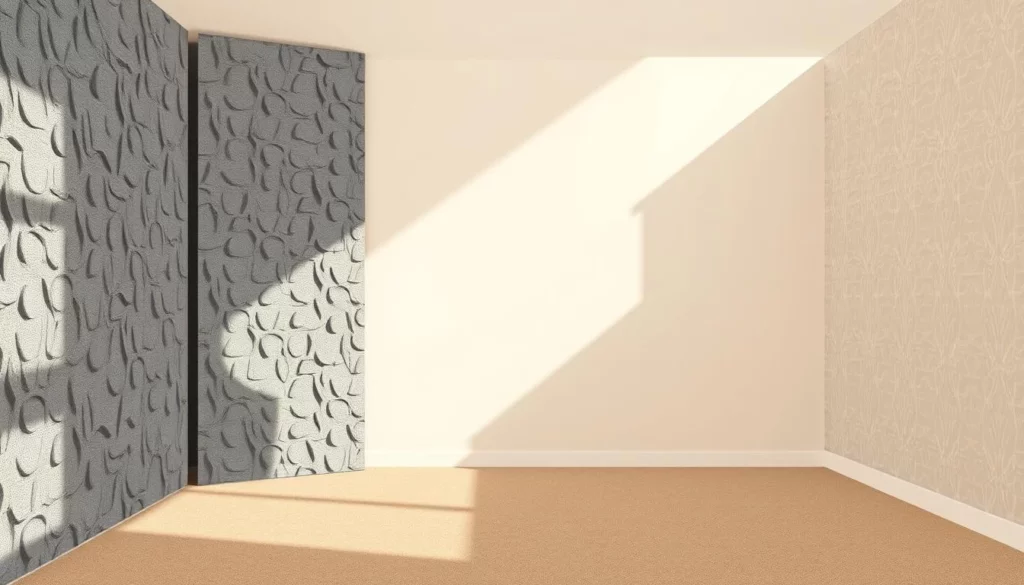
Services cater to spaces of all sizes—from compact offices to expansive auditoriums. Detailed guidelines ensure consistency, whether you’re using adhesive strips for lightweight materials or heavy-duty hardware for stability. The goal? A seamless finish that blends function with aesthetics.
If precision feels overwhelming, experienced teams are ready to assist. They handle measurements, alignment, and hardware selection, saving you time and stress. Ready to explore the process? The next sections break down every step, tool, and tip for flawless results.
Introduction to Acoustic Panels and Your Sound Environment
The way sound moves through a room shapes your daily experience. Hard surfaces like bare walls or floors amplify echoes, making conversations muddy. Soft furnishings help, but targeted solutions work better for consistent results.
Why Acoustics Matter in Your Home or Office
Noise distractions cost productivity. A study found employees in noisy spaces make 40% more errors. At home, poor clarity strains movie nights or video calls. Strategic placement of sound-absorbing solutions tackles these issues head-on.
Benefits of Using Acoustic Panels
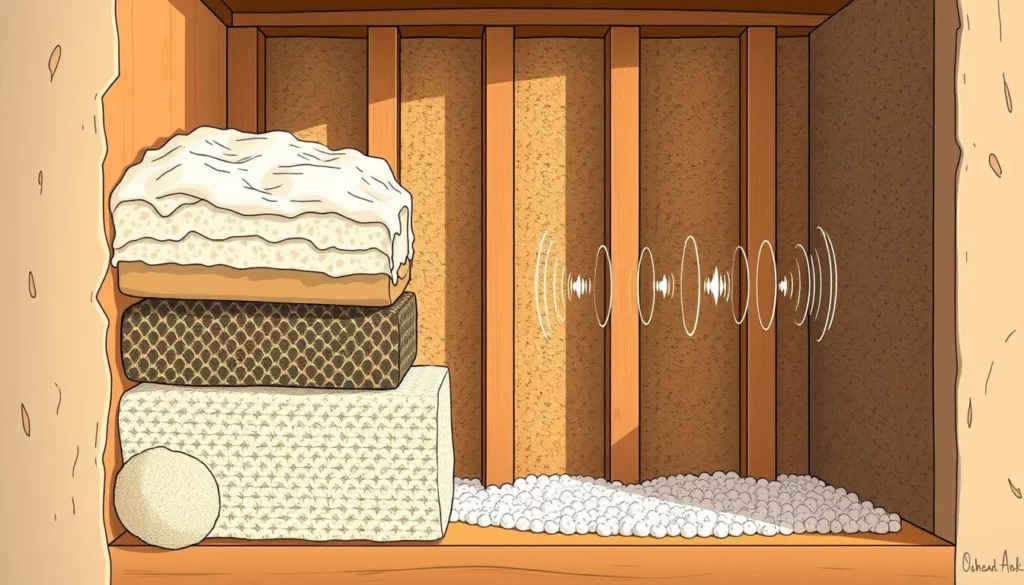
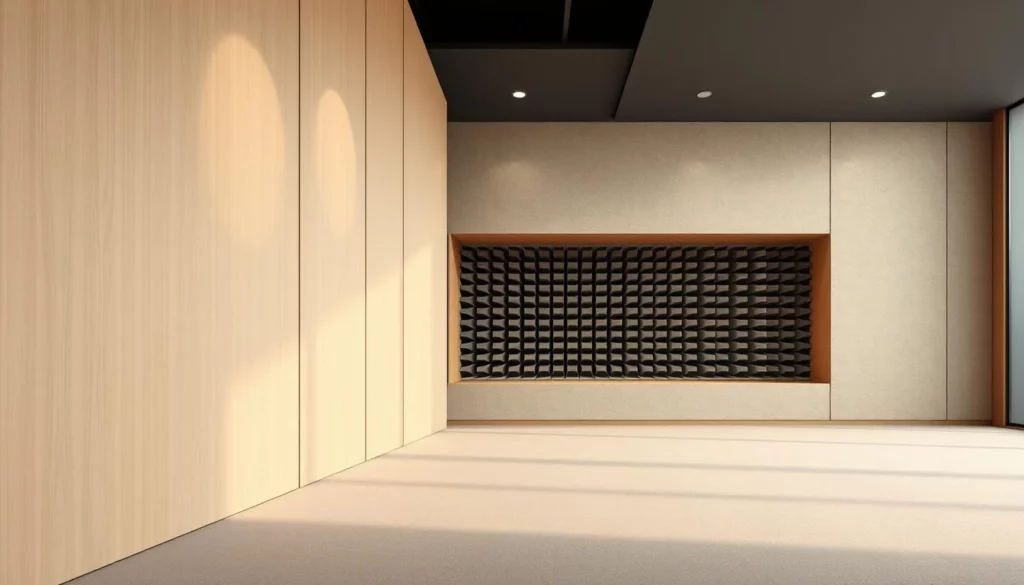
These tools cut reverberation time, letting voices stand out. They also soften harsh noises from appliances or foot traffic. Beyond function, modern designs add visual warmth to sterile rooms.
| Common Issues | Benefits After Installation |
|---|---|
| Echoes in empty rooms | Crisp audio during calls |
| Noise bouncing off walls | Reduced background chatter |
| Poor speech clarity | Enhanced focus during meetings |
Whether you choose DIY methods or professional install acoustic services, proper setup maximizes results. Our guide covers both approaches so you can balance budget and precision.
Essential Tools and Materials for Acoustic Panels Installation
Gathering the right equipment is half the battle for perfect sound control. Without quality tools, even the best materials won’t deliver crisp audio or lasting results. Start with these essentials to ensure every step flows smoothly.

Tool Checklist for Success
Measure twice, cut once—your mantra for this project. A laser level guarantees straight lines, while a fine-tooth saw ensures clean edges on custom-sized pieces. Add a hand drill, measuring tape, and masking tape to your kit. These basics prevent mid-project delays.
Matching Adhesives and Fasteners to Your Space
Not all walls are created equal. Drywall? Use heavy-duty adhesive like Loctite Power Grab. Concrete? Opt for wall anchors and screws. The right fasteners keep everything secure without damaging surfaces. Thicker materials work best in noisy areas, while lightweight options suit home offices.
Durability matters. Cheap adhesives crack over time, reducing sound absorption. Premium choices maintain performance for years. For visual learners, detailed checklists and video guides simplify the process.
With your toolkit ready, you’re set to transform any room. Next, we’ll walk through each installation method to match your skill level and goals.
Acoustic panels installation: Step-by-Step Process
Getting crisp audio quality relies on following a clear, methodical approach. Whether you prefer permanent fixtures or flexible setups, two proven techniques deliver results. Let’s break them down.
Impaling Clips: The Permanent Solution
- Mark your layout: Use a laser level to map where each unit will sit on the wall. Space clips 12-16 inches apart for even support.
- Secure the clips: Screw them into studs or masonry anchors. Ensure they’re flush with the surface.
- Apply adhesive: Add a bead of construction-grade glue to the clip bases for extra stability.
- Press into place: Align the panel’s back grooves with the clip pins. Apply firm pressure until the adhesive sets.
This method locks units securely, ideal for high-traffic areas. The pins hold everything tight while the glue cures overnight.
Z-Clips: Flexibility Without Compromise
- Measure and mark where both clip halves will go—one on the wall, one on the panel.
- Attach wall-mounted clips with screws, keeping them level. Leave a 1/8-inch gap for easy sliding.
- Snap the panel-side clips into place, then hang them onto the wall brackets.
Need to rearrange later? Just lift and reposition. Perfect for rented spaces or evolving layouts.
| Method | Best For | Key Advantage |
|---|---|---|
| Impaling Clips | Permanent setups | Maximum stability |
| Z-Clips | Temporary spaces | Easy adjustments |
Pro tip: Double-check measurements before drilling. A crooked row undermines both function and visual appeal. If clips feel loose, add adhesive sparingly between the bracket and wall.
Preparing Your Space and Panels
A flawless setup begins long before the first tool touches the wall. Proper prep work ensures your materials fit snugly and perform at their best. Let’s dive into the essentials for getting your surfaces and units ready.
Surface Preparation and Cleaning Tips
Start by wiping down the wall with a microfiber cloth to remove dust. For stubborn grime, mix warm water with mild dish soap. Dry the area completely—moisture weakens adhesives and causes warping over time.
Check for electrical outlets or vents. Mark their edges with painter’s tape to avoid covering them. Use a stud finder to locate beams, which help anchor screws securely.
| Surface Type | Cleaning Method | Drying Time |
|---|---|---|
| Painted Drywall | Damp cloth + mild detergent | 30 minutes |
| Concrete | Broom sweep + vacuum | 15 minutes |
| Wood Paneling | Dry duster + tack cloth | 10 minutes |
Measuring and Cutting Panels for a Precise Fit
Measure wall dimensions twice, noting any corners or sloped ceilings. Transfer these marks to your materials using a carpenter’s pencil. Leave a 1/4-inch gap around edges for expansion.
Use a fine-tooth saw for straight cuts. Support the unit on sawhorses to prevent chipping. After cutting, smooth rough edges with 120-grit sandpaper. This maintains the finish and prevents fraying.
For outlets, trace the shape onto the backside. Drill starter holes, then cut carefully with a jigsaw. Test the fit before securing anything permanently.
Pro tip: Label each piece with its wall location using masking tape. This avoids confusion during the final process and speeds up assembly.
DIY Techniques vs. Professional Help
Should you tackle the project yourself or call in experts? Both paths offer distinct advantages depending on your space and skills. Let’s explore how to choose wisely.
When to Use a Professional Installation Team
Complex layouts demand precision. If your room has vaulted ceilings, uneven walls, or extensive electrical systems, professionals handle these smoothly. They bring tools like laser alignment devices and industrial-grade fasteners for flawless results.
- Large spaces: Auditoriums or open-plan offices require specialized equipment.
- Time constraints: Teams complete multi-room setups in hours, not days.
- Safety concerns: Heavy materials mounted overhead need secure anchoring.
DIY Savings and Step-by-Step Guides for Homeowners
Smaller projects often suit hands-on approaches. With basic tools and online tutorials, you can transform a home office or studio. Here’s how:
- Measure your wall area and mark positions using a level.
- Cut materials to size, leaving gaps around outlets.
- Apply adhesive strips or screw brackets into studs.
- Snap units into place and test for stability.
Key tip: Use temporary mounting putty for rentals. It holds lightweight pieces without damaging surfaces. For permanent setups, combine screws with construction glue for vibration resistance.
Whether you DIY or hire help, proper preparation ensures lasting noise control. Video guides simplify tricky steps, while expert consultations bridge knowledge gaps. Your choice depends on budget, complexity, and confidence in handling tools.
Troubleshooting and Enhancing Sound Absorption
Even the best-laid plans can hit snags—but quick fixes save the day. Whether you’re tackling uneven surfaces or tricky outlets, proactive adjustments ensure your setup performs flawlessly.
Common Installation Challenges and How to Avoid Them
Air bubbles under adhesive-backed units? Gently lift the corner and smooth outward with a credit card. For misaligned clips, loosen the screws slightly, adjust with a level, then retighten.
- Adhesive timing: Wait 5 minutes after applying glue before pressing materials into place. This boosts bond strength.
- Loose fasteners: Add rubber washers between brackets and walls to dampen vibrations.
- Uneven cuts: Sand edges with 120-grit paper for cleaner seams.
Customizing Your Installation for Electrical Outlets and Cut-Outs
Outlets demand precision. Trace their outlines on the back of your material using a template. Cut 1/8-inch larger than marked to allow for thermal expansion.
- Drill starter holes at each corner of the traced shape.
- Use a jigsaw with a fine blade for smooth curves.
- Seal cut edges with acrylic paint to prevent fraying.
| Tool | Purpose | Tip |
|---|---|---|
| Jigsaw | Curved cuts | Go slow to avoid chipping |
| Hole Saw | Round outlets | Use masking tape to mark depth |
| Utility Knife | Small adjustments | Score lightly, then snap |
Recheck alignment after 24 hours. If gaps appear, slide shims behind brackets. For persistent noise issues, add extra layers of felt behind problem areas. Refer to video tutorials if techniques feel unclear—visual demos often clarify complex steps.
Conclusion
Transforming your space into a sound-friendly environment is within reach with the right approach. By choosing the method that fits your needs—whether permanent fixtures or adjustable setups—you enhance clarity and comfort. Properly placed panels reduce echoes and background noise, creating spaces where conversations and creativity thrive.
Key steps like marking layouts, securing clips, and applying adhesives ensure stability. Impaling Clips offer lasting results for high-traffic areas, while Z-Clips allow easy adjustments in rented spaces. Selecting the right tools—from laser levels to construction-grade glue—simplifies the panel setup process.
Surface preparation matters. Clean walls thoroughly and measure twice to avoid gaps. Proper cuts and alignment prevent future issues, whether you’re working with drywall or concrete. Remember: durable materials paired with correct fasteners mean your setup lasts.
Facing challenges? Quick fixes like adjusting clips or adding adhesive shims keep everything on track. Each careful action improves sound absorption, making rooms more functional and inviting.
Ready to begin? Review the guide’s tips and video tutorials for visual guidance. Whether tackling it yourself or hiring experts, a well-planned approach delivers results. Start today and enjoy the difference a quiet, focused environment brings.