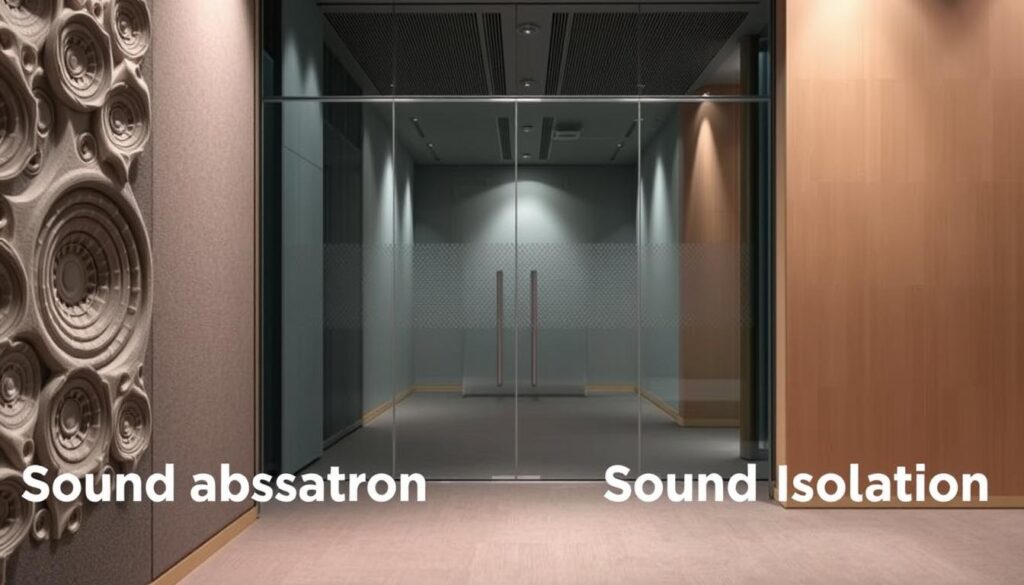
Soundproofing is key to keeping your home quiet, like in basements. But, flanking paths can ruin your soundproofing. They let noise in, ruining your peace.
So, what are flanking paths? They’re indirect paths sound uses to get around your soundproofing. Identifying and sealing these paths is crucial for effective soundproofing.
In this article, we’ll dive into why sealing flanking paths is important. You’ll learn how to spot them and seal them. This will make your living space quieter and more peaceful.
Understanding Flanking Paths
Understanding flanking paths is key to effective soundproofing in your home. Flanking paths are routes sound takes to get around soundproofing, which can reduce its effectiveness.
What Are Flanking Paths?
Flanking paths are indirect ways sound can travel, using walls, floors, and ceilings of a building. These paths can weaken soundproofing if not found and fixed.
For example, sound can go through a wall, into a ceiling void, and then into another room. This way, it avoids the soundproofing measures. Identifying these paths is key for good soundproofing.
Importance of Sealing Flanking Paths
Sealing flanking paths is vital to prevent flanking paths from ruining your soundproofing. If not sealed, these paths can cause a lot of sound leakage. This makes your soundproofing less effective.
- Prevents sound leakage
- Enhances overall soundproofing effectiveness
- Reduces noise disturbances
Using good sealing tactics can greatly improve your home’s sound quality. It also cuts down on unwanted noise.
Common Sources of Flanking Paths
Flanking paths come from many places, like gaps around windows and doors, ducts and vents, and structural elements like shared walls and floors.
- Gaps around windows and doors
- Ducts and vents
- Shared structural elements
Knowing these common sources helps you find and seal flanking paths in your home. This way, you can keep your sound quality high and noise low.
Identifying Flanking Paths in Your Home
To soundproof your home well, you need to find flanking paths. These paths let sound sneak in, even when you’ve tried to block it. Knowing your home’s layout and weak spots is key.
Visual Inspection Techniques
Start by looking around your home. Check for any gaps, cracks, or openings. Focus on windows, doors, and where materials meet. A flashlight can help spot sound paths in dark spots.
Look for wear and tear, like cracks in walls or gaps around doors and windows. These spots are common for sound leaks. Also, check for any structural weaknesses that might let sound through.
Key Areas to Examine
Some parts of your home are more likely to have flanking paths. These include:
- Gaps around doors and windows
- Cracks in walls and ceilings
- Openings around electrical outlets and switches
- Spaces between different building materials
- Areas around plumbing and HVAC systems
Make sure to check these areas well, as they can cause a lot of sound leakage.
Tools You Might Need
For a detailed inspection, you’ll need some basic tools. These include:
| Tool | Description | Use |
|---|---|---|
| Flashlight | Illuminates dark spaces | Revealing hidden gaps and cracks |
| Caulk | Seals gaps and cracks | Preventing sound leakage |
| Acoustic caulk | Specially designed for soundproofing | Sealing gaps around doors and windows |
| Weatherstripping | Seals gaps around doors and windows | Preventing sound from passing through |
With these tools and methods, you can find and block flanking paths in your home. This will help keep your space quiet and comfortable.
Assessing Sound Transfer Issues
To get soundproofing right, you need to check how sounds move. It’s not just about stopping direct sound. You also have to find and fix indirect paths that can mess up your plans.
Understanding How Sounds Travel
Sounds can move in many ways, like through air, solid things, and vibrations. Flanking paths let sound sneak around your soundproofing. For example, a room might still hear sounds from the ventilation or walls and floors that aren’t soundproofed.
Key factors that influence sound travel include:
- The type of sound (airborne or impact)
- The materials used in construction
- The design and layout of the building
Signs of Flanking Noise
Spotting flanking noise is key to fixing sound transfer problems. Look out for:
- Strange sounds from next rooms or areas
- Sounds that seem to come from everywhere
- Soundproofing not working as well as it used to
If you see these signs, it’s time to find out where the noise is coming from.
Analyzing Noise Levels
Checking noise levels is important for sound transfer issues. You need to measure how loud and what kind of sound it is. Use sound level meters or special tools for this.
When analyzing noise levels, consider the following:
- The sound’s frequency (high, low, or mid-range)
- How loud it is (in decibels)
- If the sound changes over time
By knowing how sounds move, spotting flanking noise, and checking sound levels, you can tackle sound transfer problems. This will help you improve your soundproofing.
Sealing Techniques for Flanking Paths
To seal flanking paths well, knowing the different techniques is key. Sealing these paths helps keep your home soundproof. You can use various materials and methods to do this.
Using Acoustic Caulk
Acoustic caulk is made to block sound by filling gaps. Before using it, clean the area thoroughly. Make sure the surface is dry and clean. Then, apply the caulk generously to fill the gap. Use a damp cloth or tool to smooth it out.
Installing Soundproof Panels
Soundproof panels can be put on walls and ceilings to block sound. Choose the right location for them to work best. Areas around doors and windows are often leaky. Use appropriate fasteners to secure the panels tightly.
Weatherstripping Doors and Windows
Weatherstripping seals gaps around doors and windows well. Select the right type of weatherstripping for your needs. There are many types, like foam tape and vinyl. Apply the weatherstripping around the frame for a tight seal.
| Technique | Description | Effectiveness |
|---|---|---|
| Using Acoustic Caulk | Fills gaps and joints to prevent sound leakage | High |
| Installing Soundproof Panels | Reduces sound transmission through walls and ceilings | Very High |
| Weatherstripping Doors and Windows | Seals gaps around doors and windows | High |

For more details on flanking paths and soundproofing, check this document on curtain walling and flanking.
Using these sealing methods can greatly reduce sound leaks through flanking paths. This improves your home’s soundproofing.
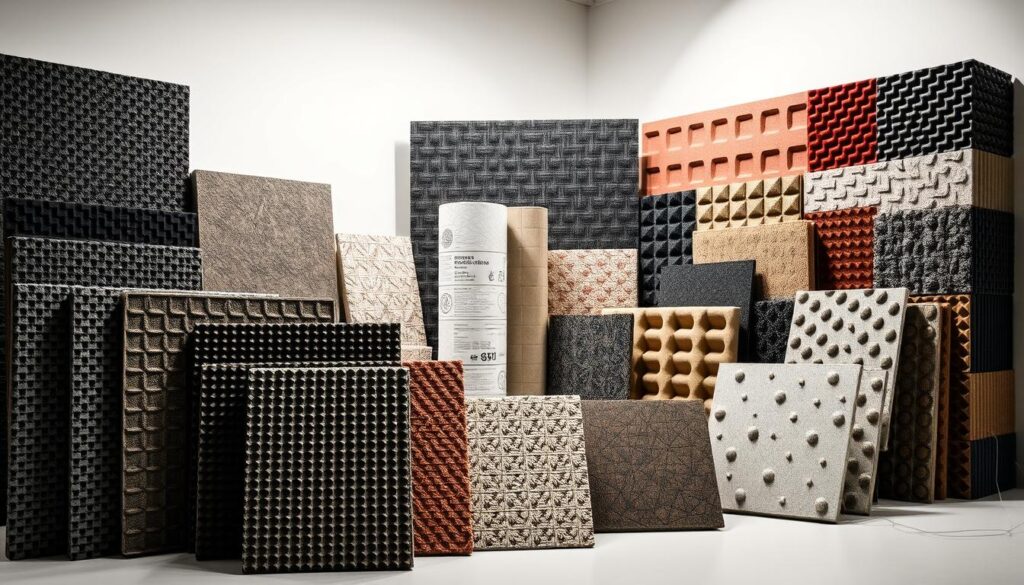
Selecting the Right Materials
Choosing the right materials is key to soundproofing your home. The right materials can make a big difference in how well your home blocks out noise.
Best Materials for Soundproofing
There are many materials for soundproofing, each with its own strengths. Some top picks include:
- Acoustic caulk for sealing gaps and joints
- Mass-loaded vinyl for adding mass to walls and ceilings
- Soundproofing panels to absorb sound
- Weatherstripping for doors and windows
Cost Considerations
The cost of soundproofing materials varies a lot. It’s important to think about your budget when picking materials. Here’s a look at some common materials and their costs:
| Material | Cost per Unit | Effectiveness |
|---|---|---|
| Acoustic Caulk | $5-$10 per tube | High |
| Mass-loaded Vinyl | $1-$3 per square foot | Very High |
| Soundproofing Panels | $20-$50 per panel | High |
| Weatherstripping | $5-$15 per roll | Medium |
Where to Buy Soundproofing Materials
You can buy soundproofing materials at many places. Some top spots include:
- Home Depot
- Lowe’s
- Amazon
- Specialty soundproofing stores
It’s smart to compare prices and read reviews before buying.
DIY vs. Professional Help
Knowing when to DIY seal and when to get professional help is key for fixing flanking paths. Your choice depends on the task’s complexity, your skills, and what you have available.
When to Consider a Professional
For big sound leakage problems or hard-to-reach flanking paths, think about hiring a pro. They have the right tools and know-how for tough soundproofing jobs.
- Complex soundproofing requirements
- Lack of DIY experience
- Extensive flanking paths
If you’re not sure about DIY or feel uneasy with heights or tight spaces, getting professional help is a good idea. It saves time and ensures the job is done right.
Benefits of DIY Sealing
DIY sealing can save you money, which is great for small projects. You get to choose the materials and methods, which can cut down on labor costs.
Key benefits include:
- Cost savings on labor
- Personal control over the project
- The satisfaction of completing the task yourself
For small flanking paths, using acoustic caulk or weatherstripping is a simple DIY job. It can greatly reduce sound leakage.
Potential Challenges with DIY
DIY sealing has its perks, but there are downsides. You might use the wrong materials or methods, which can fail to block sound or harm your home.
- Inadequate materials or techniques
- Lack of experience with soundproofing
- Potential for incomplete sealing
To avoid these problems, do your homework and maybe check out online resources or soundproofing forums before starting your DIY project.
Conducting a Follow-Up Inspection
Checking if your soundproofing works well is key. You need to make sure the steps you took to block sound leaks are effective.
Importance of Testing Your Work
Testing your soundproofing is crucial. It ensures that your efforts to block sound are successful. If you skip this step, you might miss spots that need more work.
Conducting a thorough test helps find any sound leaks. This lets you fix them quickly.
How to Conduct a Sound Test
To test sound, start by making a steady noise at home, like music or a sound machine. Then, walk around to find where sound leaks or is louder.
Pay particular attention to spots around sealed flanking paths. These are common places for sound to leak in or out.
Adjusting Your Sealing Strategy
If sound leaks through some areas, you might need to change your sealing plan. This could mean looking at the flanking paths again or trying new soundproofing methods.
Consider consulting a pro if you’re not sure what to do. Or if sound leaks keep happening after you re-seal.
Long-Term Maintenance of Sealed Areas
Keeping your soundproofing efforts going strong means regular upkeep. After sealing flanking paths in your home, it’s key to keep those seals tight. This means doing regular checks and maintenance to stop sound leaks.
Routine Checks for Flanking Paths
It’s important to regularly check the sealed areas. Look for any wear or damage on the sealing materials. Do these checks every six months or after big weather changes.
Focus on joints and corners, as gaps often form there. Use a flashlight for dark spots and a candle or incense to find air leaks.
Repairing and Replacing Materials
If you spot damage, fix or replace the materials right away. For small gaps, more caulk might do the trick. But bigger damage might need new sealing material.
When you replace materials, pick the same or similar products. This keeps your soundproofing strong. It’s also a chance to see if your original method worked well or if you need to tweak it.
| Material | Inspection Frequency | Common Issues |
|---|---|---|
| Acoustic Caulk | Every 6 months | Cracking, drying out |
| Soundproof Panels | Annually | Damage, displacement |
| Weatherstripping | Every 3 months | Wear, loss of adhesion |
Keeping Your Home Soundproof
Soundproofing your home is a continuous effort. Regular checks and repairs are just the start. Think about adding more soundproof panels or improving other soundproofing areas in your home.
Stay proactive and dedicated to your home’s soundproofing. This way, you can enjoy a quieter home for many years.
Additional Soundproofing Solutions
To get the best soundproofing, think about adding more solutions. Sealing gaps is key, but there are other ways to make your home quieter.
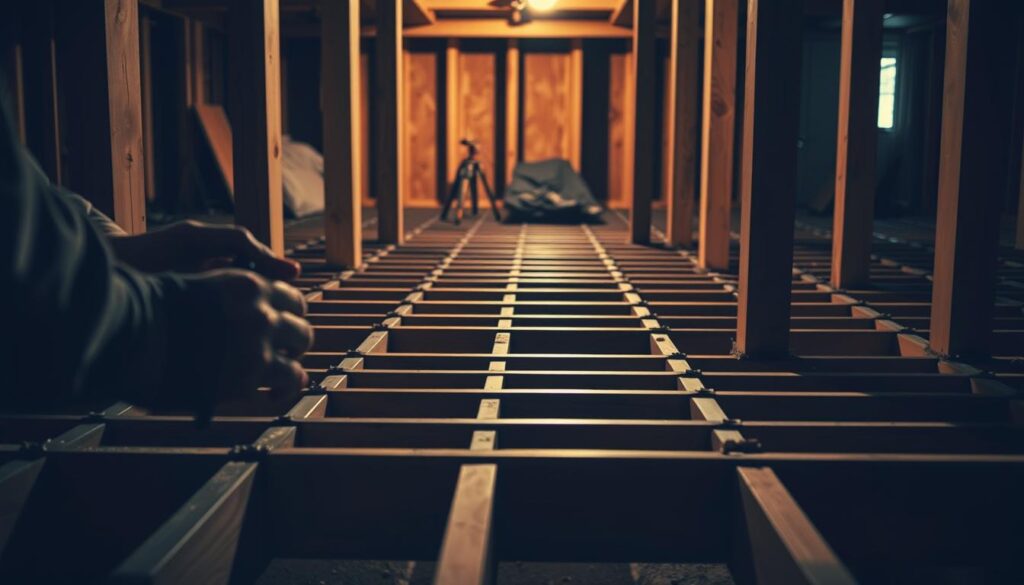
Soundproofing Floors and Ceilings
It’s important to soundproof floors and ceilings too. You can use materials like mass-loaded vinyl or add insulation. These steps help stop sound from moving between rooms.
- Mass-loaded vinyl: A flexible, heavy vinyl sheet that can be installed under flooring or on walls to block sound.
- Acoustic insulation: Materials like fiberglass or mineral wool that absorb sound energy.
- Resilient channels: Special metal channels that help decouple drywall from the studs, reducing sound transmission.
Advanced Acoustic Treatments
Advanced treatments use special materials and designs to control sound. This includes acoustic panels, sound-absorbing materials, and room layouts to reduce echo.
Some effective advanced acoustic treatments include:
- Acoustic panels: Designed to absorb sound energy, reducing echo and reverberation.
- Diffusion panels: Used to scatter sound waves, creating a more even sound distribution.
- Bass traps: Specially designed to absorb low-frequency sounds, improving overall sound quality.
Combining Techniques for Effectiveness
Using different soundproofing methods together works best. Sealing gaps, soundproofing floors and ceilings, and using advanced treatments can greatly improve your home’s soundproofing.
For example, seal all gaps, install mass-loaded vinyl, and add acoustic panels. This way, your home will be much quieter.
Understanding Local Building Codes
Knowing local building codes is key for any home improvement, like soundproofing. These codes ensure buildings are safe and meet standards. They also guide what materials and methods you can use for soundproofing.
Regulations for Noise Reduction
Local codes often have rules for noise reduction. These rules can change a lot from place to place. For example, some areas might have stricter laws, like in homes or near businesses.
To follow these rules, learn about your area’s noise laws. You might need to find out the sound transmission class (STC) ratings for walls, floors, and ceilings.
| Location | STC Rating Required | Common Applications |
|---|---|---|
| Residential Areas | 50-60 | Walls, Floors, Ceilings |
| Commercial Zones | 40-50 | Office Partitions, Meeting Rooms |
| Industrial Areas | 30-40 | Factory Walls, Equipment Enclosures |
Permits You Might Need
You might need permits for big soundproofing projects. This is true if you’re changing your home’s structure a lot.
Check with your local building department to see if you need a permit. They can tell you what permits and inspections you need to follow the codes.
Consulting with Local Authorities
Talking to local authorities is important for soundproofing projects. They can tell you what rules you need to follow.
Working with local officials helps you avoid problems. It makes sure your soundproofing is done right and follows the rules.
Resources for Homeowners
Improving soundproofing in your home is important. You need reliable resources to help. Check out the ultimate guide to professionally soundproofing your basement. It has tips on sealing paths and picking the right materials.
Recommended Reading
Keep up with the latest in soundproofing. Look for publications and online guides. They offer expert tips, like using SONOpan panels and acoustic caulking.
Online Communities
Join online forums and communities. They’re great for getting advice and support. You can talk to other homeowners and experts about soundproofing.
Professional Associations
For big soundproofing projects, talk to professional associations. They can help with local building codes and best practices.