Effective soundproofing is key to reducing noise and improving acoustics in buildings. One effective method is using resilient channels. They play a big role in sound isolation techniques.
Resilient channels are an effective way to cut down on noise between rooms. Knowing how to install them can greatly improve your space’s soundproofing.
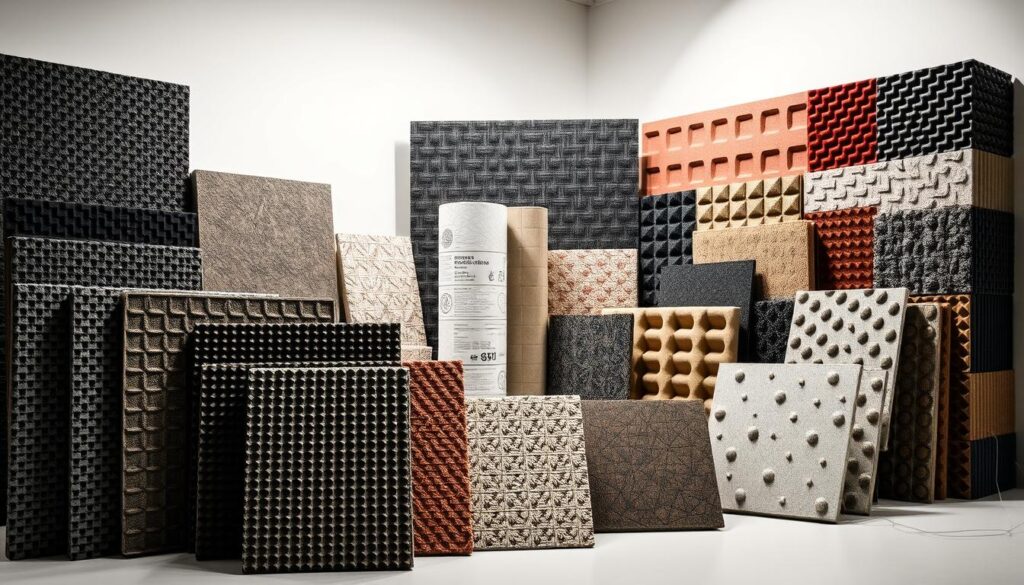
Choosing the right soundproofing materials and techniques is crucial for a successful install. In this article, we’ll show you how to do it right, ensuring the best results.
What Are Resilient Channels and Their Benefits?
Resilient channels are key in reducing noise in buildings. They help by separating gypsum panels from the framing, which boosts soundproofing. The Steel Framing Industry Association says they are made to better sound insulation.
Definition of Resilient Channels
Resilient channels are thin, flexible metal strips used in buildings. They help soundproof by separating gypsum boards from the structure. This separation is important because it cuts down sound energy transmission, making places quieter. Essentially, resilient channels act as a buffer, absorbing sound vibrations and preventing them from traveling through the building’s framework.
Advantages of Using Resilient Channels
The main benefit of resilient channels is their ability to greatly improve soundproofing. They work by separating the gypsum board from the framing, which reduces airborne and impact noise. This makes living or working spaces more comfortable and quieter. Other benefits include:
- Improved sound insulation
- Enhanced acoustic comfort
- Flexibility in design and installation
Also, resilient channels are simple to install and fit in many construction settings, like walls, ceilings, and floors.
Common Applications in Construction
Resilient channels are used in many construction projects, from homes to commercial and industrial buildings. They are applied in:
| Application | Description | Benefits |
|---|---|---|
| Walls | Used to improve soundproofing between rooms and from external sources. | Enhanced privacy, reduced noise disturbance |
| Ceilings | Installed to reduce noise transmission from upper floors or external sources. | Quieter living or working spaces |
| Floors | Applied to minimize impact noise and improve overall sound insulation. | Reduced footfall noise, improved acoustic comfort |
Knowing the benefits and uses of resilient channels helps builders and homeowners make smart choices for their projects.
Tools and Materials Needed for Installation
To start the installation smoothly, you need the right tools and materials. Installing resilient channels requires precision and the right tools for the best soundproofing results.
Essential Tools for Resilient Channel Installation
Having the right tools is key for a successful installation. You’ll need:
- A reliable drill for making screw holes
- A screwdriver for driving screws into place
- A measuring tape to ensure accurate measurements
- A level to guarantee that the channels are properly aligned
- Pliers for gripping and bending the channels as needed
Type S pan-head screws and 1-1/4″ type W or type S screws are essential for securing resilient channels to the framework.
Types of Resilient Channels
Resilient channels vary for different uses. The most common types are:
| Type | Description | Application |
|---|---|---|
| Resilient Channel (RC) | A hat-shaped channel designed to decouple drywall from the structural framework | General soundproofing in walls and ceilings |
| Resilient Sound Isolation Channel (RSIC) | A specialized channel with enhanced sound isolation properties | High-end soundproofing requirements in recording studios and home theaters |
| Z-Channel | A Z-shaped channel used for specific drywall applications | Drywall installation in areas with specific structural needs |
Safety Gear and Precautions
Safety is crucial during installation. Always wear:
- Safety glasses to protect your eyes from debris
- A dust mask to avoid inhaling dust and particles
- Gloves to improve grip and protect your hands
By following safety precautions and using the right tools and materials, you can ensure a safe and effective resilient channel installation.
Preparing the Area for Installation
Getting the installation area ready is crucial for sound isolation. It’s important for your resilient channels to work well. This ensures they provide the best acoustical solutions.
Assessing the Existing Structure
Before you start, check the structure for any problems. Look for damage, uneven surfaces, or other issues that might affect the channels. This step is key for a smooth installation and good soundproofing.
Inspect the framework for wear or damage. Make sure the surface is solid and can hold the weight of the channels and drywall. Fix any problems now to avoid issues later.
Measuring and Marking Locations
Measuring accurately is vital for installing resilient channels. Measure the area and mark where the channels will go. Use a level to keep your marks straight and aligned.
Marking the right spots is crucial for soundproofing. Use a pencil to mark where the channels will be. Make sure these marks are clear and easy to see when you install.
Cleaning the Installation Surface
Cleaning the surface is a must for a strong bond. Remove dirt, dust, or debris with a suitable cleaner. This ensures a secure attachment and better soundproofing.
By preparing the area well, you’re setting up for a successful installation. This boosts the effectiveness of your soundproofing efforts.
Step-by-Step Guide to Installing Resilient Channels
To get the best soundproofing, it’s key to know how to install resilient channels right. This involves several important steps. These steps make sure soundproofing materials work their best.
Installation Method Overview
Installing resilient channels is a detailed process. It starts with getting the area ready and ends with the channels securely on the framework. It’s vital to remember that these channels help block sound by separating the drywall from the building’s structure.
Key steps in the installation process include:
- Checking the structure to find the best spot for the channels.
- Measuring and marking where the channels will go.
- Attaching the channels to the framework with the right fasteners.
Marking the Placement
Getting the marks right is key for installing resilient channels well. You need to measure the space between channels as the maker suggests and mark it on the framework.
Make sure your measurements are spot on to avoid problems during installation.

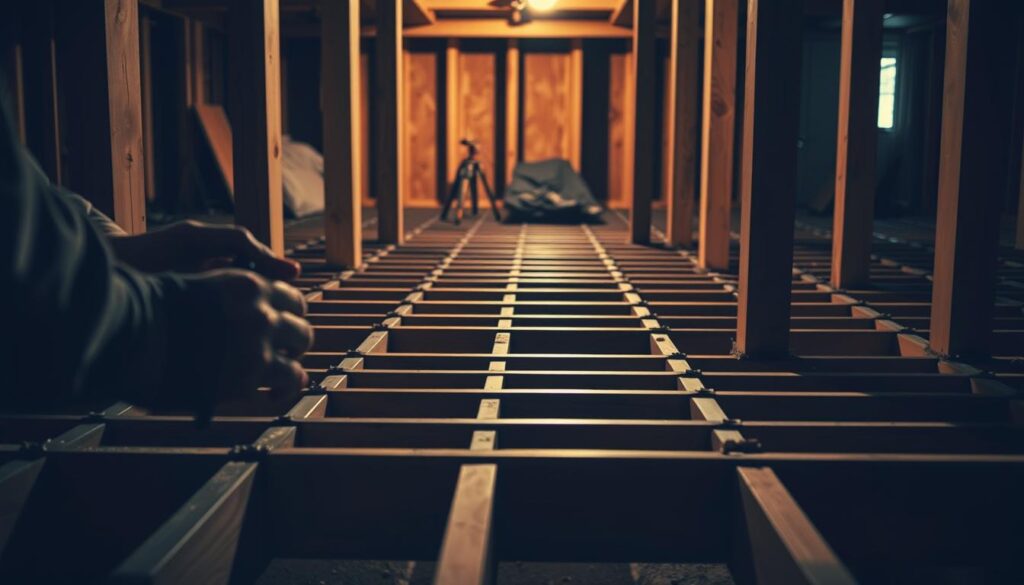
Attaching Resilient Channels to the Framework
After marking, you can start attaching the channels. Use the fasteners the maker suggests and follow their guidelines for spacing and alignment.
Proper attachment is crucial for the effectiveness of the soundproofing:
- Line up the resilient channel with your marks.
- Secure the channel with the right fasteners, making sure they’re tight.
- Do the same for each channel, keeping the spacing even.
Common Mistakes to Avoid During Installation
To get the best soundproofing, avoid common errors when installing resilient channels. These mistakes can lower the effectiveness of your soundproofing efforts. Knowing what to avoid helps ensure a successful installation.
Incorrect Measurements
One big mistake is taking wrong measurements. This can cause channels to be off, waste materials, and add extra work. Always double-check your measurements before cutting or installing. A laser level can help with accuracy.
Inadequate Fastening Techniques
Using the wrong fasteners can make channels loose or uneven. This weakens their soundproofing. Use the right fasteners and space them correctly. The table below shows the best fastening methods for different channels.
| Type of Resilient Channel | Recommended Fastener | Spacing |
|---|---|---|
| Metal Resilient Channels | Screws | 6-8 inches |
| PVC Resilient Channels | Adhesive or Clips | 8-12 inches |
Overlooking Soundproofing Practices
Ignoring soundproofing practices is another mistake. This includes not sealing gaps or using too little soundproofing material. To get the most from your resilient channels, follow soundproofing best practices. This means sealing all gaps and using enough materials.
Avoiding these mistakes ensures a successful installation. Remember, the details of your installation are key to effective soundproofing.
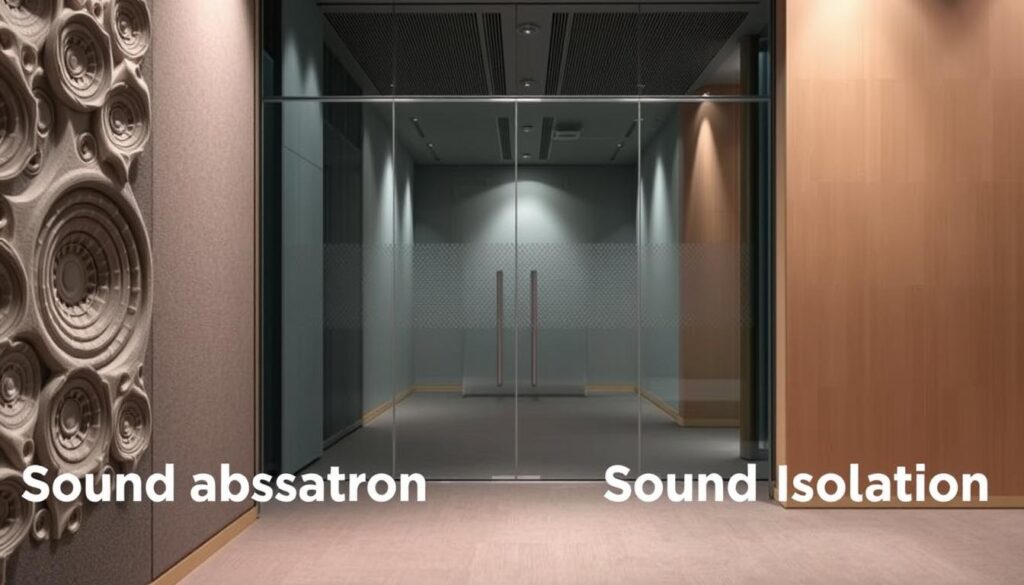
Understanding the Soundproofing Benefits
Resilient channels are key in soundproofing. They help by breaking the connection between drywall and the frame. This makes it harder for sound to pass through.
Sound travels in different ways, like through air or solid objects. Resilient channels work well against both types. They create a gap between the drywall and the building’s structure.
How Resilient Channels Reduce Noise
Resilient channels stop noise by breaking the direct link between drywall and frame. Without this link, sound can’t easily move from one side of the wall to the other. This greatly cuts down on noise.
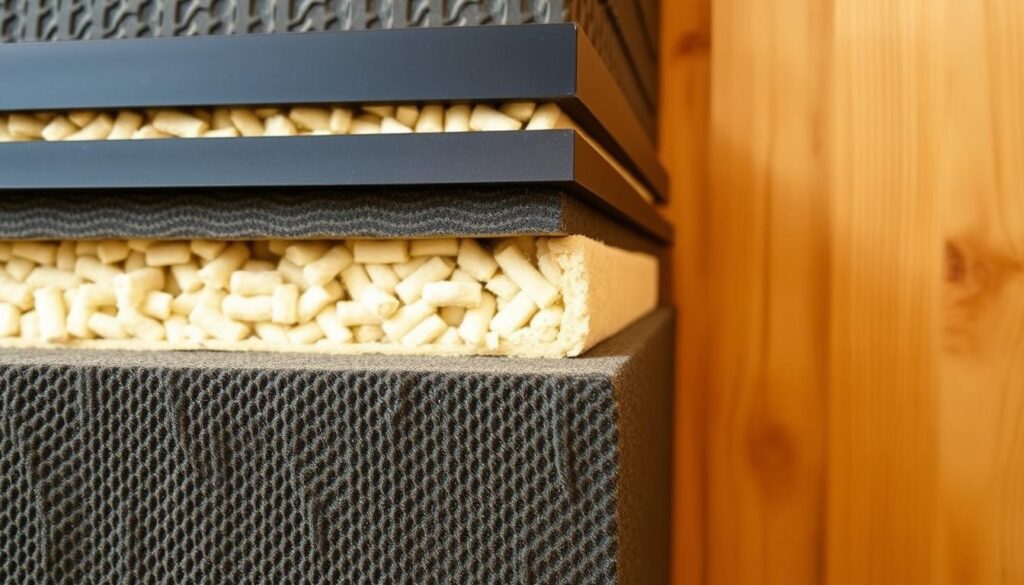
Their design and material are why they work so well. Made from flexible metal, they absorb sound energy instead of passing it on.
Comparison with Traditional Methods
Older soundproofing methods add mass or use sound-absorbing materials. But resilient channels are often better and cheaper. They’re also easier to put in during building or fixing up.
Resilient channels beat other methods in sound blocking. They’re best at stopping sounds we hear most, like voices and everyday noises.
| Soundproofing Method | Effectiveness | Cost |
|---|---|---|
| Resilient Channels | High | Moderate |
| Mass Loaded Vinyl | High | High |
| Acoustic Panels | Moderate | Moderate |
Enhancing Acoustic Performance in Various Settings
Resilient channels work in many places, like homes and offices. They’re key for better sound in theaters and home theaters too.
In homes, they make life quieter. They help block noise from other rooms or apartments, making living spaces calmer.
Knowing how resilient channels work helps you choose the right soundproofing. This is true for homeowners, builders, or architects.
Additional Tips for Successful Installation
There are key steps to take for a successful resilient channel installation. These tips will help improve your soundproofing project’s effectiveness.
Recommended Fasteners and Spacing
The right fasteners and spacing are crucial for resilient channels. Choosing the correct screws is essential for a secure installation without damaging the drywall or framework.
- Choose screws that are long enough to hold the channel firmly to the framework.
- Keep screws 12 to 16 inches apart for the best support.
- Avoid over-tightening to prevent channel deformation and loss of effectiveness.
Ensuring Level Alignment
Proper alignment is vital for resilient channel installation. It’s important to ensure the channels are perfectly level. This is crucial for the drywall installation and soundproofing performance.
- Use a level tool to check the channels’ alignment before securing them.
- Adjust the channels as needed to achieve a perfectly level position.
- Double-check the alignment after securing the channels to ensure no shifting occurred during fastening.
Best Practices for Drywall Hanging
Hanging drywall on resilient channels requires specific best practices. Proper drywall installation is the final step for achieving the desired acoustic performance.
- Use the right type and thickness of drywall for your soundproofing needs.
- Ensure drywall seams are staggered and do not align with channel seams.
- Use the correct type and spacing of drywall screws to avoid compromising the resilient channels.
By following these additional tips, you can greatly improve your resilient channel installation. This will help create a quieter and more comfortable space.
Maintenance and Care for Resilient Channels
Keeping your soundproofing solution working well depends on caring for resilient channels. It’s important to maintain these channels to keep them effective at blocking sound. Regular checks and upkeep can make them last longer and work better at reducing noise.
Inspecting for Damage Over Time
Resilient channels can wear out over time, affecting their sound-blocking ability. It’s key to check them often for any damage. Look for dents, bends, or if they’re still attached to the framework.
- Look for any signs of rust or corrosion on the channels.
- Check that the channels are not damaged during the installation of other components.
- Verify that the channels are still aligned properly.
Cleaning and Upkeep Recommendations
Cleaning and upkeep are crucial for your resilient channels. Dust and dirt can harm their performance. Use a soft brush or cloth to clean them regularly. Also, keep the area around the channels clean and clutter-free.
By following these tips, your resilient channels will keep blocking noise effectively for many years.
Troubleshooting Common Issues
Troubleshooting is key to making sure your soundproofing works well. Even with careful planning, problems can still happen. These issues can affect how well the soundproofing system works.
Identifying Noise Problems Post-Installation
If your soundproofing isn’t working as well as you hoped, there are a few things to check. First, look for any gaps or openings around the edges of the drywall. These can really hurt the soundproofing. Use acoustic sealant to seal any gaps you find.
- Make sure the resilient channels are evenly spaced and aligned.
- Check that the drywall is well attached to the channels.
- Make sure there are no direct connections between the drywall and the building’s structure. These can let sound through.
Fixing Misaligned Channels
Misaligned resilient channels can cause uneven drywall and poor soundproofing. First, find the misaligned channels by looking at the installation. If they’re just a bit off, you might be able to fix them by loosening the screws and moving the channels. For bigger problems, you might need to take them out and put them back in.
Tips for realigning channels:
- Use a level to make sure the channels are straight.
- Double-check the space between channels to keep it even.
- Make sure the channels are well attached to the structure to avoid movement.
Dealing with Structural Limitations
At times, the building’s structure can make it hard to get good soundproofing. For example, if the walls aren’t perfectly straight or the ceiling has big bumps, it’s tough to soundproof well. In these cases, you might need to use more soundproofing materials or methods.
Common structural limitations include:
- Irregular wall surfaces
- Non-plumb walls
- Existing structural damage
By understanding and tackling these challenges, you can improve your soundproofing with resilient channels.
When to Call a Professional
Soundproofing with resilient channels can be done on your own. But, some jobs need a pro’s touch. If your project is big or complex, it’s best to get a professional.
Signs That You Need Expert Help
You might need a pro if your project needs special tools or techniques. Or if you’re not sure about how to install it right. Also, if it’s for a business or a recording studio, it’s more complex and important.
Choosing the Right Contractor
When picking a contractor, look for their experience with resilient channel benefits and noise reduction methods. Check their work, ask for references, and make sure they’re certified. A good contractor will give you a clear estimate and explain how they’ll soundproof your space.
Cost Considerations for Professional Installation
The cost of professional installation varies. It depends on the project’s size, complexity, and where you are. You might spend $500 to $2,000 or more. Even though it costs more upfront, the long-term benefits of good soundproofing can save you money and improve your life.
Knowing when to get professional help and how to pick the right contractor is key. This way, your soundproofing project will be done well and efficiently. You’ll get the most out of resilient channels.
Conclusion: Achieving Soundproofing Success with Resilient Channels
Effective soundproofing is key for a quiet and comfortable space. Resilient channels help by separating drywall from the building’s structure. This reduces noise.
Key Takeaways
You now know how crucial resilient channels are for soundproofing. You also know how to install them right. Using the right materials and techniques can greatly improve your building’s sound quality.
Take Action
Whether you do it yourself or get a pro, make sure it’s done right. With the right tools and materials, you can get top-notch soundproofing results.
Enhance Your Space
Adding resilient channels to your soundproofing plan can make your space quieter and more comfortable. This simple step can greatly improve your daily life. It creates a peaceful environment that boosts productivity and relaxation.