Is outside clamor or noisy neighbors disrupting your peace? Improving acoustic comfort doesn’t require tearing apart your home. This guide reveals practical ways to block unwanted sounds using proven, low-effort strategies.
Why focus on quieting your environment? Constant disturbances affect focus, relaxation, and sleep. Simple upgrades like adding dense materials or specialized damping compounds can create a calmer living area. These solutions blend seamlessly with your existing setup.
You’ll explore methods such as layering drywall with vibration-absorbing adhesives or installing sound-blocking barriers like mass-loaded vinyl. These approaches minimize construction while maximizing results. Industry experts recommend combining mass, damping, and decoupling techniques for optimal performance.
The best part? Most projects are DIY-friendly. Whether you’re renting or own your home, non-invasive fixes let you reclaim tranquility quickly. Stay tuned as we break down technical terms and share product recommendations tailored for real-world success.
Understanding the Basics of Soundproofing
Effective noise reduction enhances comfort and privacy in any space. Whether you’re working remotely or unwinding after a long day, controlling sound transmission improves your quality of life. Let’s break down the core principles that make these improvements possible.
Why Soundproofing Matters for Your Home
Unwanted noise doesn’t just annoy—it disrupts sleep patterns and reduces productivity. Thin walls allow conversations, footsteps, and street sounds to invade your personal space. By addressing these issues, you create zones where relaxation and focus thrive naturally.
The Science of Mass, Damping, and Decoupling
Three core concepts work together to block noise. Mass refers to dense materials like drywall or mass-loaded vinyl that physically block sound waves. Adding a second layer of drywall with damping compounds like Green Glue absorbs vibrations before they travel through walls.
Decoupling separates wall surfaces to prevent sound transfer through structural connections. Resilient channels or staggered stud layouts achieve this effectively. Meanwhile, acoustic panels tackle echoes within the room itself, complementing these structural solutions.
| Technique | Function | Common Materials |
|---|---|---|
| Mass | Blocks sound waves | Drywall, MLV |
| Damping | Absorbs vibrations | Green Glue, rubber mats |
| Decoupling | Breaks sound paths | Resilient channels, staggered studs |
Understanding these principles helps you choose the right strategy. For instance, combining mass-loaded vinyl with damping compounds offers better results than either method alone. This layered approach transforms your room into a sanctuary against external disturbances.
Planning Your Soundproofing Project
Creating a peaceful environment starts with smart preparation. Before grabbing tools or materials, pinpoint your specific noise issues and align them with practical fixes. This approach saves time and ensures every dollar spent delivers measurable results.
Assessing Noise Challenges in Your Space
Begin by identifying what you’re up against. Airborne noises like voices or music travel through air, while structural sounds (footsteps, slamming doors) vibrate through walls. Use a smartphone app to measure decibel levels during peak disturbance times. For example, low-frequency bass from a neighbor’s stereo requires different solutions than high-pitched echo in a home office.
Budgeting and Choosing the Right Materials
Cost-effective strategies depend on your noise profile. Acoustic foam panels absorb mid-to-high frequencies, making them ideal for music studios or podcast rooms. For broader coverage, consider mass-loaded vinyl layered with fiberglass insulation. Compare these options:
| Material | Best For | Avg. Cost |
|---|---|---|
| Acoustic foam | Reducing echo | $0.50/sq.ft |
| Mass-loaded vinyl | Blocking bass | $2.00/sq.ft |
| Fiberglass insulation | Wall cavities | $1.20/sq.ft |
DIY methods work for simple projects like sealing gaps with acoustic caulk. However, professional installation ensures proper decoupling in complex cases. Balance your budget by prioritizing high-impact areas first—like shared walls or home theaters.
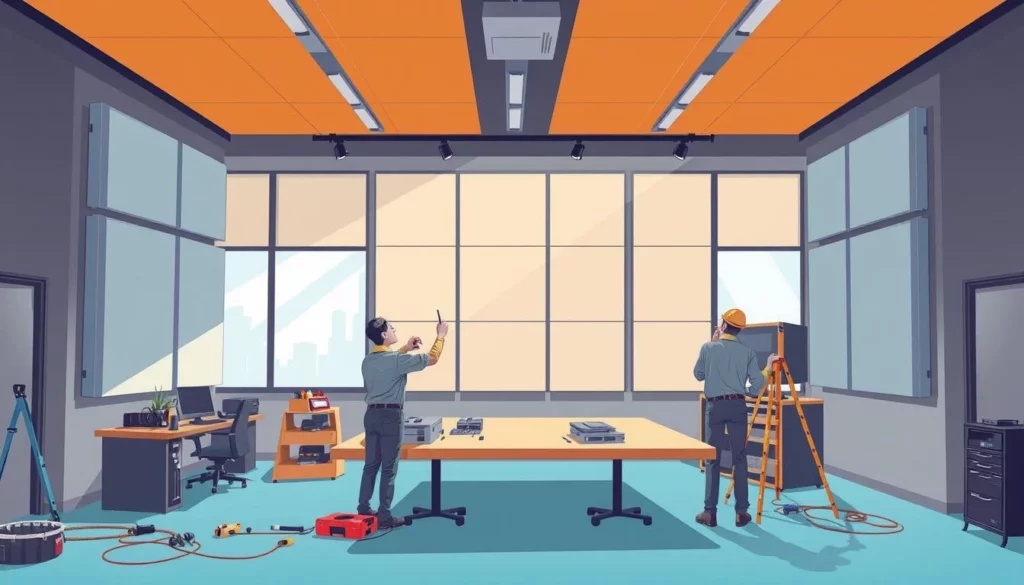
How to Soundproof Existing Walls Without Major Renovation
Tackling unwanted noise doesn’t require demolition crews or endless construction. With smart material choices and basic tools, you can transform your space into a quiet retreat. Let’s explore proven methods that deliver results without tearing down structures.
DIY-Friendly Upgrades That Work
Adding a second layer drywall is one of the most effective upgrades. Apply damping compounds like Green Glue between sheets—this sticky substance converts sound energy into heat. Cut panels to fit snugly against your existing wall, then secure them with screws. The extra mass blocks mid-frequency noises like voices or TVs.
Mass-loaded vinyl (MLV) offers another flexible option. Roll out this dense material over walls before reinstalling trim or baseboards. It’s ideal for blocking low-frequency rumbles from traffic or appliances. Combine MLV with acoustic sealant around outlets for airtight coverage.
Tailoring Solutions to Your Noise Profile
Match your strategy to the disturbance type. For example:
- High-pitched echoes: Install fabric-wrapped acoustic panels
- Bass vibrations: Use MLV with decoupling clips
- Air leaks: Apply foam gaskets behind switch plates
Experts recommend starting with the noisiest areas first. A soundproof wall in a home theater might need both MLV and drywall layers. For moderate noise, pre-made panels often suffice. Test different combinations to find your ideal balance of effort and results.
| Noise Type | Best Material | Installation Time |
|---|---|---|
| Voices/TV | Double drywall + Green Glue | 4-6 hours |
| Traffic rumble | MLV + sealant | 2-3 hours |
| Echoes | Acoustic panels | 1 hour |
Remember—consistency matters more than perfection. Even partial coverage reduces noise significantly. Start small, measure improvements, then expand your approach as needed.
Non-Destructive Soundproofing Techniques
Peaceful spaces shouldn’t require permanent changes. Non-invasive upgrades let you block noise while keeping walls intact. Focus on weak points like windows, doors, and air gaps for maximum impact.

Implementing Soundproof Curtains and Window Inserts
Thick, layered curtains absorb airborne noise from traffic or loud neighbors. Choose options with mass-loaded vinyl cores or thermal insulation. Pair them with acrylic window inserts—these create an air gap that disrupts sound waves. Together, they reduce outside noise by up to 50%.
Reinforcing Doors and Using Sealants Effectively
Hollow doors leak sound easily. Add adhesive MLV sheets or install a draft stopper at the base. Apply acoustic sealant around frames to close gaps. For critical areas like home offices, consider a soundproof wall adjacent to noisy zones.
A second layer of drywall boosts performance without demolition. Combine it with cellulose insulation in wall cavities for low-frequency blocking. This method works well for shared apartment walls or media rooms.
| Material | Noise Reduction | Installation Difficulty |
|---|---|---|
| Acoustic sealant | Blocks gaps up to 1/4″ | Easy |
| Door sweeps | Reduces drafts & high pitches | Moderate |
| Window inserts | Cuts 5-10 decibels | Simple |
Experts recommend testing one solution at a time. Start with curtains or sealants, then expand based on results. Most materials are renter-friendly and reversible.
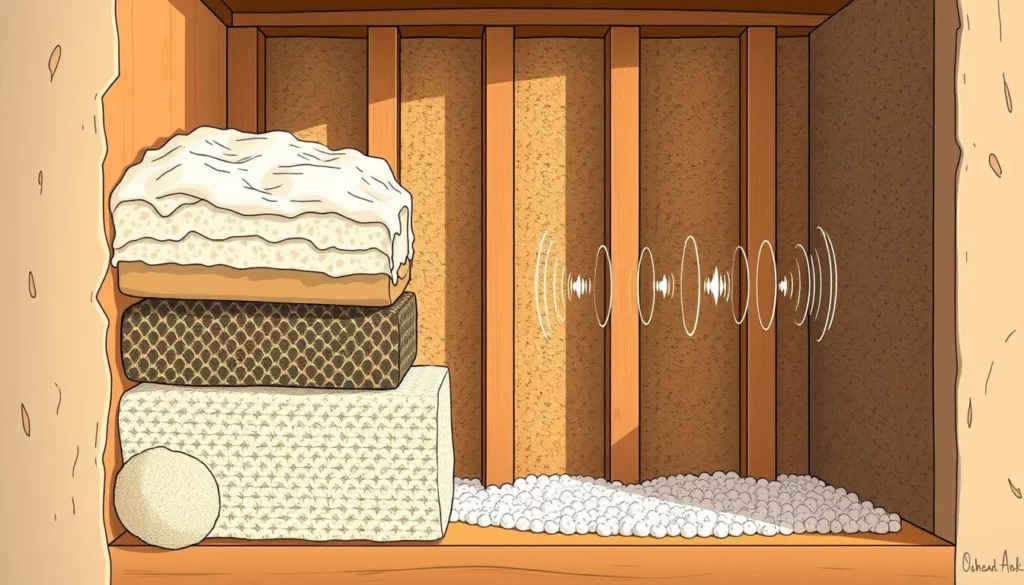
Adding Mass and Dampening to Your Walls
Transform your walls into robust noise barriers by combining dense materials with vibration-absorbing technology. These upgrades work by converting disruptive energy into harmless heat, creating quieter zones without structural changes.
Boosting Performance with Layered Drywall
Adding a second drywall layer significantly improves sound absorption. Apply Green Glue between panels—this viscoelastic compound acts like a shock absorber. It disrupts vibrations from voices or appliances before they penetrate your space.
Cut panels to fit snugly around outlets and corners. Secure them with screws every 12 inches for even pressure. This method reduces mid-frequency noises by up to 70%, making it ideal for shared apartment walls or home theaters.
Flexible Defense with Mass-Loaded Vinyl
Mass-loaded vinyl (MLV) offers adaptable protection against low-frequency rumbles. Roll out this 1-pound-per-square-foot material directly onto walls or ceilings. Seal seams with acoustic tape to prevent sound leaks.
MLV works exceptionally well in tight spaces where bulkier solutions won’t fit. Pair it with fiberglass insulation for enhanced bass blocking. Homeowners often use it behind bookshelves or under floating floors for discreet installation.
| Solution | Best For | Noise Reduction | DIY Time |
|---|---|---|---|
| Double Drywall + Green Glue | Voices, TVs | 60-70% | 5 hours |
| Mass-Loaded Vinyl | Traffic, Appliances | 50-65% | 3 hours |
Key takeaway? Layering materials creates compounding benefits. A vinyl-drywall combination often outperforms single-method approaches. Test different thicknesses to balance cost and results in your unique space.
Advanced Structural Modifications for Superior Isolation
When standard solutions fall short, advanced techniques create fortress-like quiet. These methods go beyond surface treatments, targeting the root causes of noise transmission through walls and ceilings.
Building a Room Within a Room
This approach creates independent walls that float inside your existing structure. By separating new drywall from original surfaces with air gaps, you block 95% of sound energy. Use concrete backer boards for added mass—their density outperforms standard materials.
Key steps include:
- Installing resilient metal channels 24″ apart
- Filling cavities with rockwool insulation
- Sealing exterior gaps with acoustic caulk
Decoupling Methods and Insulation Enhancements
Decoupling breaks physical connections that transmit vibrations. Staggered stud walls with separate top/bottom plates achieve this effectively. Combine with spray foam insulation to dampen mid-frequency noises like appliances or footsteps.
| Technique | Materials | STC Rating |
|---|---|---|
| Floating Walls | Resilient channels, double drywall | 60-65 |
| Staggered Studs | 2×6 lumber, fiberglass batts | 55-58 |
| Concrete Layers | QuietRock, Green Glue | 68-72 |
For maximum energy dissipation, pair these methods with mass-loaded vinyl barriers. This acoustic sandwich approach is favored in recording studios—it transforms ordinary rooms into isolated sanctuaries. Test different combinations using this guide to find your optimal setup.
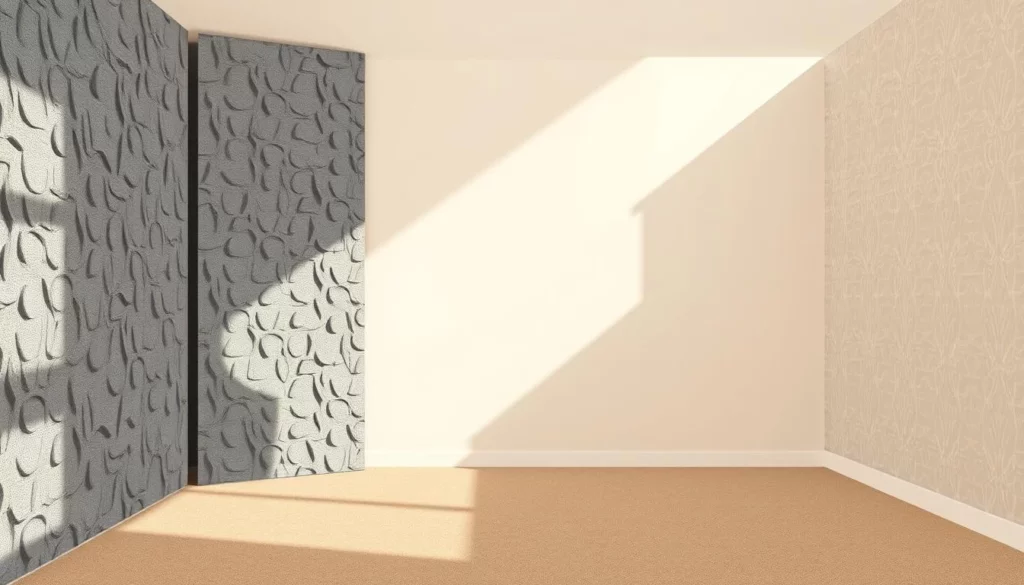
Integrating Acoustic Treatments for Enhanced Performance
Elevate your space’s acoustic performance while maintaining visual harmony. Strategic placement of specialized materials transforms rooms into balanced environments where form meets function seamlessly.
Utilizing Acoustic Panels for Sound Absorption
Fabric-wrapped acoustic panels tackle mid-to-high frequency waves that bounce off hard surfaces. Position them at reflection points—typically opposite noise sources like speakers or windows. For optimal results:
- Space panels 2-4 feet apart
- Cover 15-25% of wall surfaces
- Mix vertical and horizontal orientations
Thicker panels (3-4 inches) absorb lower frequencies better. Pair them with mass loaded vinyl barriers in adjacent walls for comprehensive coverage. This layered approach reduces echo time by up to 60%.
| Panel Type | Best Use | Thickness |
|---|---|---|
| Fabric-Wrapped | Home theaters | 2″ |
| Perforated Wood | Offices | 1.5″ |
| Printed Designs | Living spaces | 3″ |
Balancing Aesthetics with Functionality
Modern acoustic solutions blend discreetly with decor. Choose panels mimicking artwork or textured wall features. For open-concept areas, install ceiling clouds that double as lighting fixtures.
Time your installations during room updates to minimize construction disruptions. Use removable adhesive strips for temporary setups—ideal for renters. Always test arrangements with clap tests before final mounting.
Conclusion
Transforming your space into a peaceful retreat is achievable through smart material choices and strategic upgrades. By combining non-destructive methods like mass-loaded vinyl barriers with advanced techniques such as layered drywall, you create multiple defense lines against noise. These solutions work without tearing down structures—ideal for renters and homeowners alike.
Focus on your specific needs. Bass-heavy disturbances? MLV’s density blocks low-frequency rumbles. Mid-range echoes? Acoustic panels paired with sound-dampening materials absorb unwanted reflections. Even simple fixes like sealing gaps with acoustic caulk deliver noticeable improvements.
Remember: layering amplifies results. A mass-loaded vinyl sheet behind furniture or under rugs complements wall treatments. This approach tackles noise at its source while blending into your decor. Start small—address one problem area first, then expand based on results.
Ready to reclaim your quiet? Choose one method from this guide and test it this weekend. Whether installing MLV or adding damping compounds, each step brings you closer to a calmer living environment. Your peace of mind is worth the effort.