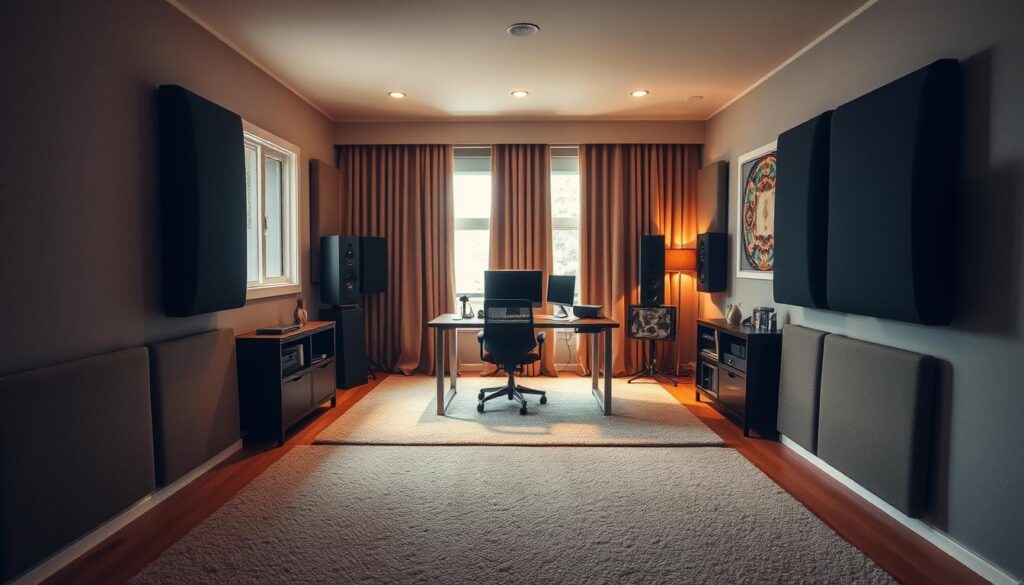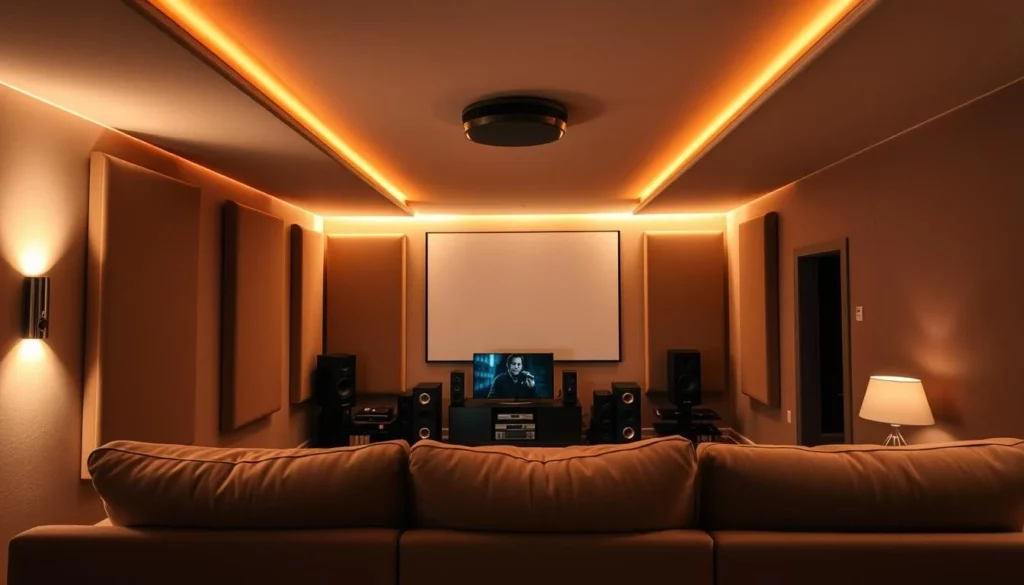
Creating a personal oasis for movie nights or gaming sessions is more than just a big screen and comfy seats. Unwanted noise can ruin the experience, making it less fun and immersive.
To get an acoustically-enhanced environment, you must think about noise reduction solutions. This means treating walls, ceilings, windows, and doors. Using sound-absorbing materials and techniques helps block sound from entering or leaving.
Improving your home theater with soundproofing can greatly enhance your viewing experience. Understanding the need for acoustic treatment and using the right noise reduction strategies is key. This way, you can make a private and immersive space for your entertainment.
Importance of Soundproofing Your Media Room
Soundproofing your media room is key to a better entertainment experience. It makes movies, music, and games more enjoyable.
Benefits for Audiovisual Experiences
A soundproofed media room lets you dive into audiovisual experiences fully. Soundproofing materials like mass loaded vinyl and acoustic panels are essential. They absorb or block sound, improving your entertainment quality.
Reducing Outside Noise Distractions
Outside noise can ruin your media room time. Using soundproofing techniques like resilient isolation clips and green glue helps. This way, you can watch or play without outside interruptions.
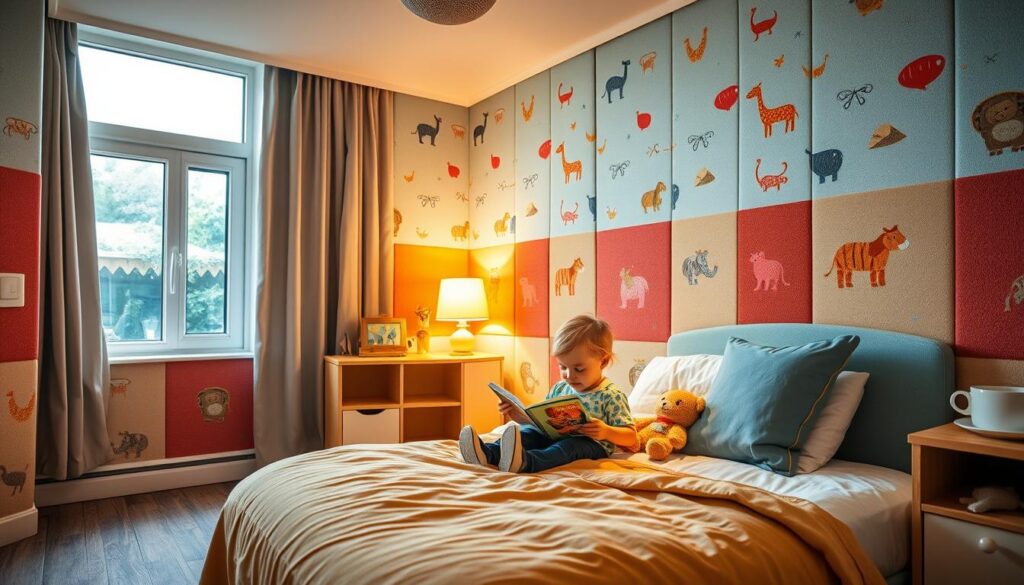
Enhancing Privacy for Streaming or Gaming
Soundproofing also boosts privacy for streamers and gamers. It keeps sound inside, so you don’t disturb others. This is vital for late-night gaming or movie nights.
In summary, soundproofing your media room does more than just improve entertainment. It also creates a private, distraction-free space. Whether you’re into gaming, streaming, or movies, the right soundproofing materials and techniques make a big difference.
Key Soundproofing Materials to Consider
Choosing the right materials is crucial for soundproofing your media room. The success of your project depends on the materials you pick.
Several key materials should be on your list for soundproofing your media room. These include:
- Acoustic panels
- Soundproofing drywall
- Mass loaded vinyl
Acoustic Panels
Acoustic panels absorb sound waves, cutting down on echo and reverberation. They greatly improve audio quality and listening experience. You can find various acoustic panels at soundproofing materials stores.
Soundproofing Drywall
Soundproofing drywall is made to block noise between rooms. It has extra layers to absorb sound waves. Using it can help reduce noise leakage and improve sound quality in your media room. For more info, check out soundproof walls resources.
Mass Loaded Vinyl
Mass loaded vinyl is a thin, flexible sheet loaded with heavy metal particles. It’s made to block sound waves. You can put it on walls, ceilings, and floors to cut down noise. Its flexibility makes it great for soundproofing complex areas.
Knowing about different soundproofing materials helps you make better choices for your media room. The right mix of materials can help you reach your soundproofing goals and improve your audiovisual experience.
DIY vs. Professional Installation: What’s Best?
Choosing between DIY soundproofing and hiring a pro is a big decision for your media room. Both options have their good and bad sides. The right choice depends on your budget, the project’s complexity, and what you prefer.
Pros and Cons of DIY Soundproofing
DIY soundproofing can save you money on labor. But, it takes a lot of time and effort to find and use soundproofing techniques. You’ll need to buy soundproofing products like acoustic panels and then install them right.
The good things about DIY soundproofing are:
- It can be cheaper because you save on labor
- You can work at your own pace
- It’s rewarding to do it yourself
But, DIY also has downsides:
- It might not be done right, which can make it less effective
- You might not have access to top-notch materials and tools
- It takes a lot of time to research and plan
When to Hire a Professional
Getting a pro to soundproof your media room can give you a better and lasting result. Soundproofing contractors know how to pick the best solutions for your space. They also use the best materials and tools for a top-notch job.
Consider hiring a pro if:
- You’re not sure about the best soundproofing methods for your space
- You don’t have the time or know-how to do it yourself
- You want a soundproofing job that’s guaranteed to work well
Cost Considerations for Both Options
The cost of soundproofing your media room can vary a lot, depending on whether you do it yourself or hire a pro. Here’s a look at the costs for both options:
| Cost Factor | DIY Soundproofing | Professional Installation |
|---|---|---|
| Materials | $500-$2,000 | $1,000-$5,000 |
| Labor | $0 (your time) | $1,000-$3,000 |
| Total Cost | $500-$2,000 | $2,000-$8,000 |
In summary, DIY soundproofing might save you money, but hiring a pro gives you a better and lasting solution. Think about your budget and needs to decide the best way to soundproof your media room.
Steps to Create a Soundproof Media Room
Creating a soundproof media room involves several steps. First, you need to assess your space. Then, choose the right materials and plan the layout. This ensures your media room is private and sounds great.
Assessing Your Current Space
Start by checking your media room’s condition. Look for gaps in walls, floors, and ceilings. Also, think about the room’s size and layout to pick the best soundproofing methods.
Key areas to inspect include:
- Windows and doors for potential sound leaks
- Walls and ceilings for any cracks or gaps
- Flooring to identify potential sound transmission paths
Choosing the Right Soundproofing Materials
Picking the right materials is key for soundproofing. Use acoustic panels, soundproofing drywall, and mass-loaded vinyl for walls and ceilings. For floors, soundproofing insulation and underlayment are good choices.
| Material | Application | Effectiveness |
|---|---|---|
| Acoustic Panels | Walls and Ceilings | High |
| Soundproofing Drywall | Walls | High |
| Mass Loaded Vinyl | Walls and Ceilings | Very High |
| Soundproofing Insulation | Floors and Walls | High |
Planning the Layout Effectively
Good layout planning is crucial for soundproofing. Think about where to put speakers, seating, and other items. Make sure the room’s design helps reduce echo and sound reflections.
Tips for planning the layout include:
- Positioning speakers to achieve optimal sound distribution
- Arranging seating to minimize sound reflections
- Incorporating sound-absorbing materials strategically
Common Soundproofing Mistakes to Avoid
Soundproofing your media room is key to great audio quality. It’s not just about the right materials. You also need to know where things can go wrong.
Several factors can mess up your soundproofing. Knowing these pitfalls helps you make a better soundproofing plan.
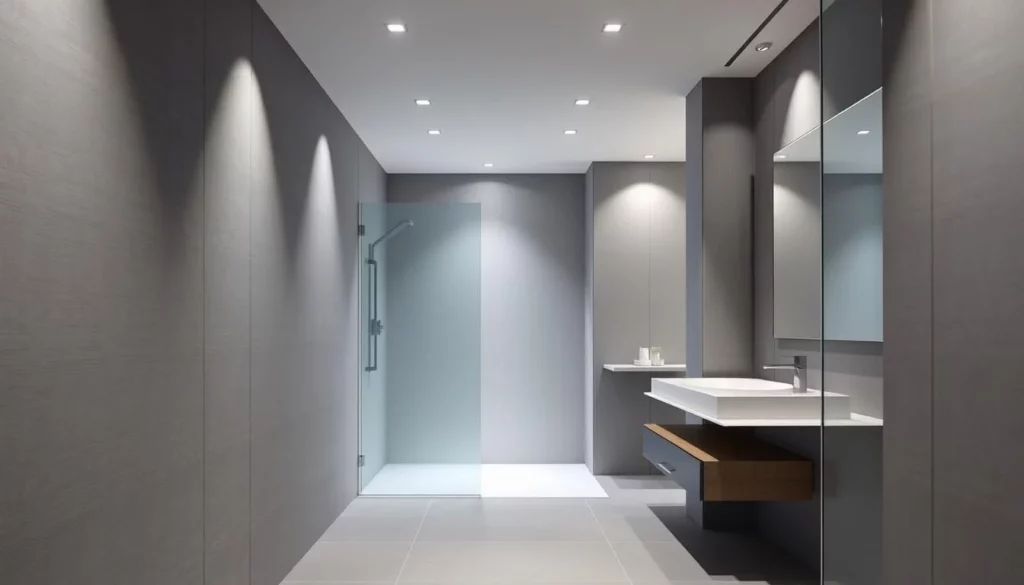
Underestimating Sound Leaks
Don’t underestimate sound leaks. Gaps around doors, windows, and openings can ruin soundproofing. Sealing these gaps with sealants and fitting doors and windows right is essential.
Using acoustic caulk around outlets and switches also stops sound leaks. Remember, a tight seal around your media room is crucial.
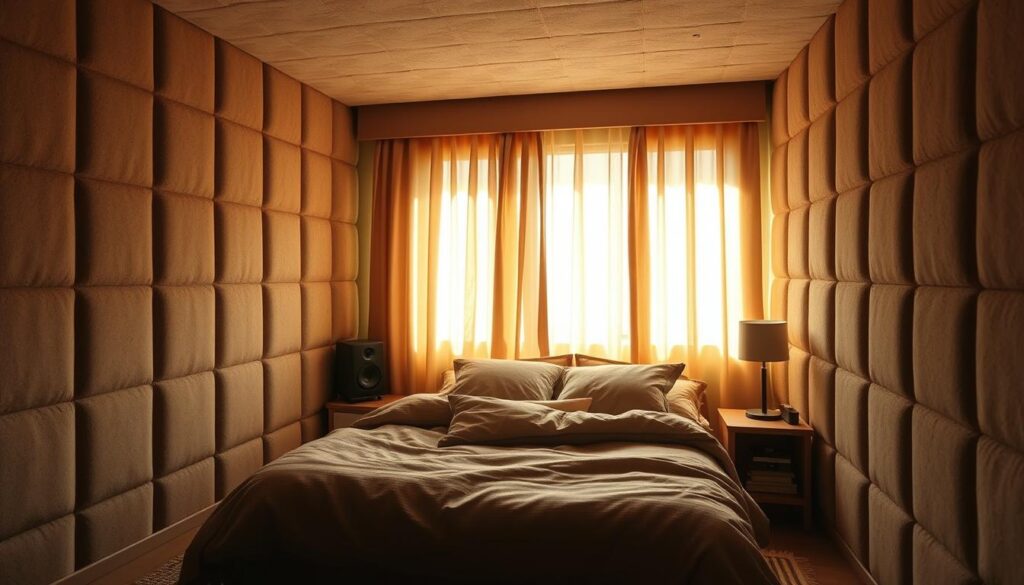
Overlooking Ceiling and Floor Treatments
Ceiling and floor treatments are often ignored but are vital. Mass loaded vinyl on ceilings and floors can cut down sound transmission. Adding acoustic panels on ceilings can also control echo and reverberation.
For floors, area rugs or soundproofing underlayment can reduce impact noise.
Neglecting Airflow and Ventilation Needs
Good airflow and ventilation are key for a comfy media room. But vents and ducts can let sound escape. Vent silencers or soundproofing materials around vents can solve this.
Balance soundproofing with ventilation when designing your media room.
| Soundproofing Aspect | Without Correction | With Correction |
|---|---|---|
| Sound Leaks | Significant sound leakage | Minimal sound leakage |
| Ceiling Treatment | Echo and reverberation issues | Improved sound clarity |
| Floor Treatment | Impact noise disturbance | Reduced impact noise |
| Airflow and Ventilation | Sound transmission through vents | Effective sound containment |
Avoiding these common mistakes can greatly improve your media room’s audio quality and enjoyment.
How to Test Your Soundproofing Effectiveness
Testing your soundproofing is simple. It’s key for a great experience in your media room. Whether you’re watching a movie, playing a game, or listening to music.
Simple DIY Sound Tests
Start with DIY sound tests. Play music or a movie at a moderate volume. Then, check how much sound leaks out from outside the room.
Clap your hands or make a loud noise inside to see how much sound escapes.
- Play a song with a wide range of frequencies to test how well the room handles different sounds.
- Have someone stand outside the room while you make noise inside to assess sound leakage.
Using Sound Level Meters
For precise measurements, use a sound level meter. These devices show exact decibel levels inside and outside your room. Sound level meters are available at most hardware stores or online.
| Sound Level (dB) | Perceived Loudness | Example |
|---|---|---|
| 0-20 dB | Very Quiet | Whispering |
| 20-40 dB | Quiet | Library ambiance |
| 60-80 dB | Moderate | Normal conversation |
| 80-100 dB | Loud | Movie soundtrack |
Monitoring Audio Quality During Use
Monitor audio quality during use. Listen for outside noises during a movie or game. If you notice significant outside noise, it may be necessary to revisit your soundproofing strategy.
These methods help you check your soundproofing. You can make adjustments for the best audio experience in your media room.
Additional Tips for Maximizing Acoustics
There are many ways to improve your media room’s sound beyond just soundproofing. By arranging your space wisely, you can make your viewing experience better.
Arranging Furniture Strategically
How you set up your furniture affects your room’s sound. Try placing your seats in a way that cuts down on echo and sound bouncing. For example, a curved sofa and chairs can spread sound more evenly.
- Position seating to minimize direct sound reflections off walls.
- Use furniture to create a buffer zone between the viewing area and any sound-reflective surfaces.
- Experiment with different layouts to find the optimal configuration for your space.
Incorporating Rugs and Curtains
Rugs and curtains do more than just look good. They can also improve your room’s sound. Thick curtains can soak up sound, cutting down on echo. A big, thick rug can also dampen footstep noise and reduce floor reflections.
- Choose heavy, thick curtains that can effectively absorb sound.
- Consider layering curtains for added sound absorption.
- Select a rug that is large enough to cover the majority of the floor space.
Utilizing Bookshelves as Sound Barriers
Bookshelves can act as sound barriers. By placing them smartly, you can absorb sound and lessen echo. Adding books and objects to your shelves can scatter sound, making your room’s acoustics better.
- Position bookshelves along walls to absorb and scatter sound.
- Fill bookshelves with a variety of objects to maximize sound disruption.
- Consider using bookshelves to create a division between different areas of your media room.
By using these tips, you can make your media room’s sound more immersive and engaging. This will enhance your entertainment experience.
Budgeting for Soundproofing Your Media Room
Creating a soundproof media room on a budget needs careful planning. You must understand your soundproofing goals. This includes looking at materials, labor, and equipment costs.
Setting Your Soundproofing Goals
Before starting, define what you want to achieve. Do you want to block outside noise or enhance audio quality? Identifying your soundproofing goals helps choose the right techniques and products.
Think about the activities in your media room. Will you watch movies, game, or stream? This decides the soundproofing level needed.
Potential Costs for Various Methods
The cost of soundproofing varies with methods and materials. Soundproofing contractors can give quotes, but knowing costs helps make better choices.
Common methods include:
- Installing acoustic panels to reduce echo and reverberation
- Using soundproofing drywall to block sound transmission
- Applying mass loaded vinyl to add mass to walls and ceilings
Material and method costs range from hundreds to thousands, based on job complexity.
Money-Saving Tips for Effective Soundproofing
To soundproof without spending too much, try these tips:
- DIY projects like installing acoustic panels or adding mass
- Use affordable products like acoustic caulk and spray foam
- Optimize room layout to reduce sound reflections and echoes
By being budget-conscious and using smart techniques, you can create a great media room. It won’t cost too much.
Maintaining Your Soundproofed Media Room
After you soundproof your media room, keeping it up is key. Regular checks and updates can spot issues early. This way, you avoid big problems later.
Regular Checks
Check your soundproofing materials and methods often. Make sure all seals are good and there are no gaps in walls or ceilings.
If you used soundproofing contractors, get them to inspect your setup now and then. This ensures your soundproofing still works well. Also, learning about new soundproofing methods can improve your room’s sound quality.
Staying Current
Stay updated with soundproofing technology to keep your audio top-notch. Update your materials or methods as new tech comes out. For more soundproofing tips, visit soundproofing experts.
By following these tips, your soundproofed media room will last for many years. Your investment will keep giving you great sound.